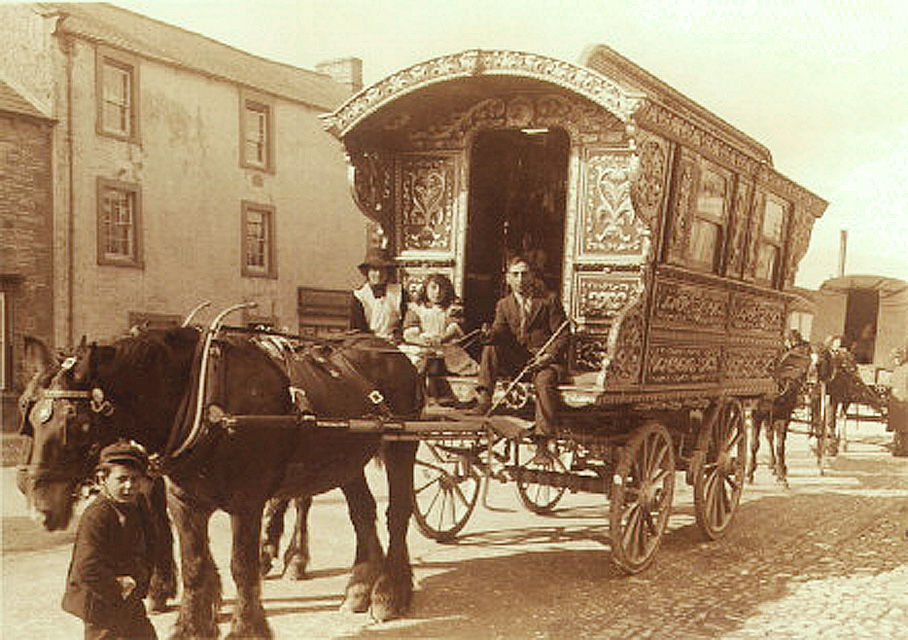
I'm building a vardo wagon for camping
Last update May 19, 2026
What we're doingMy wife and I have been kicking around the idea of having a camping trailer for a long time. We camp a LOT. At one point, as member of the Society for Creative Anachronism (SCA) we had a big medieval tent with all the trappings. We eventualy stopped using that so we could focus on our business. We still have a modern tent and lots of gear - we're not the types to rough camp.
We are planning on getting back to being SCA campers again but also continuing normal camping as we're approaching retirement age and want to tour the country for as long as we can.
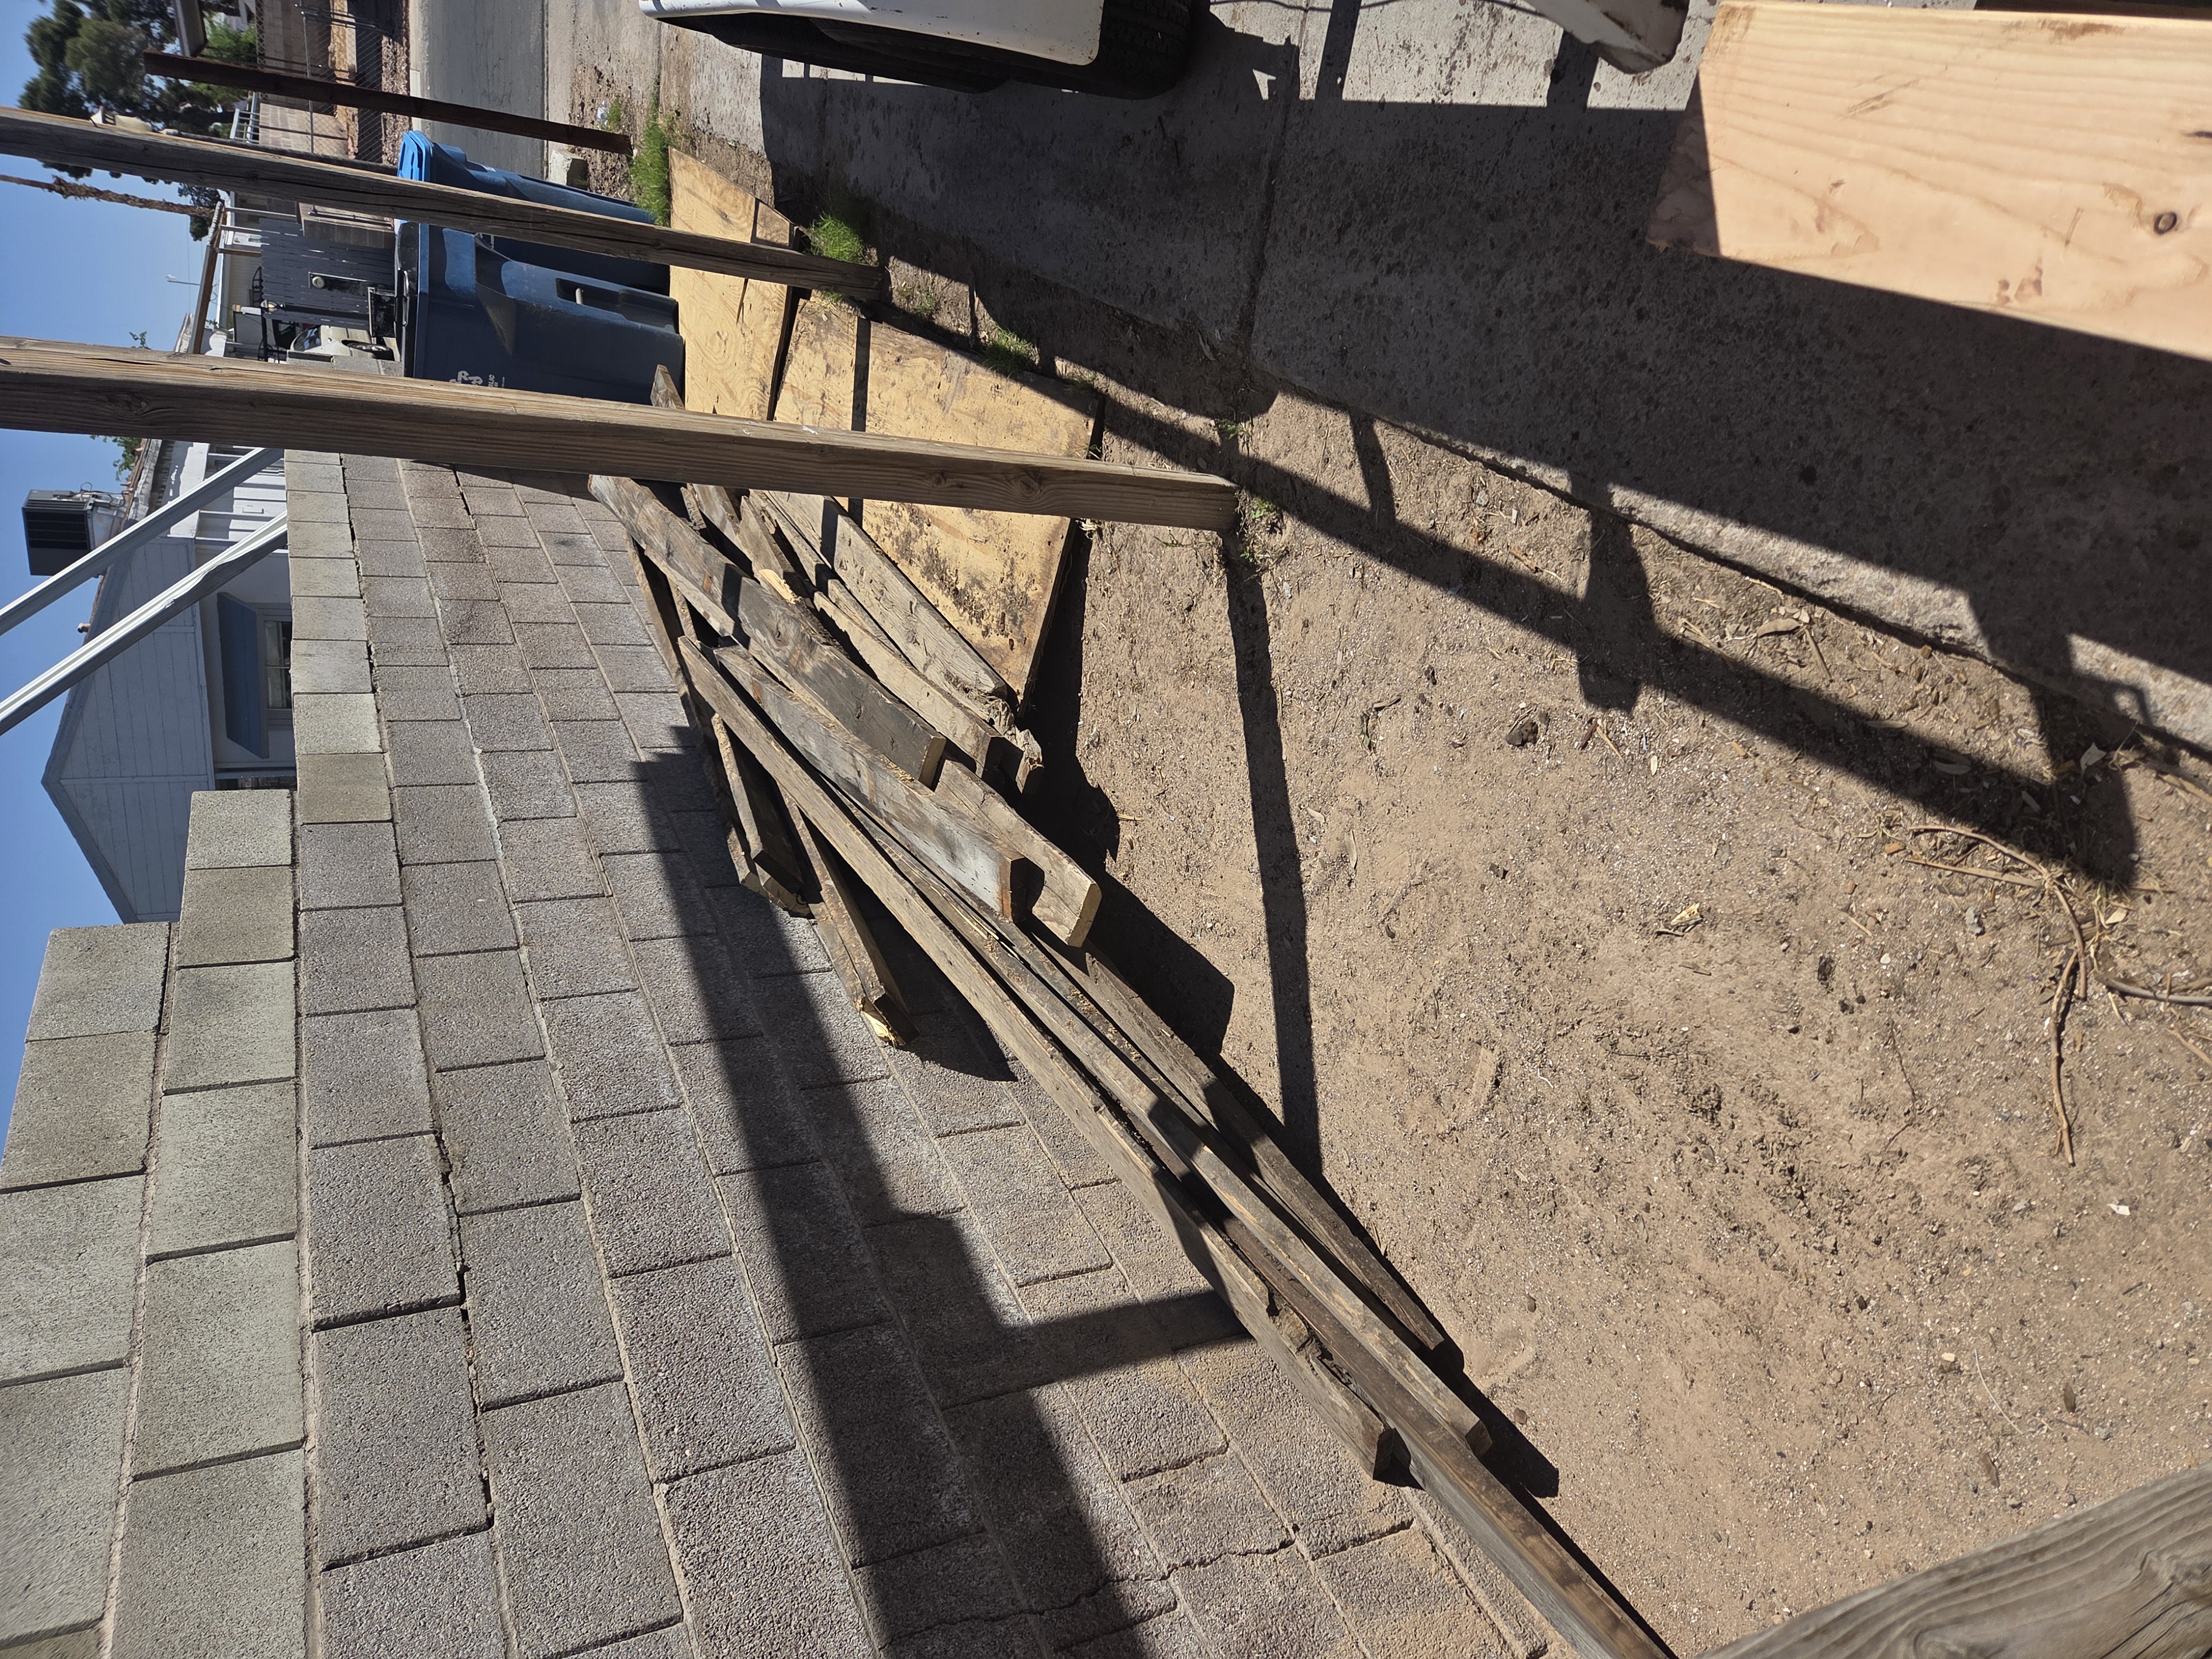
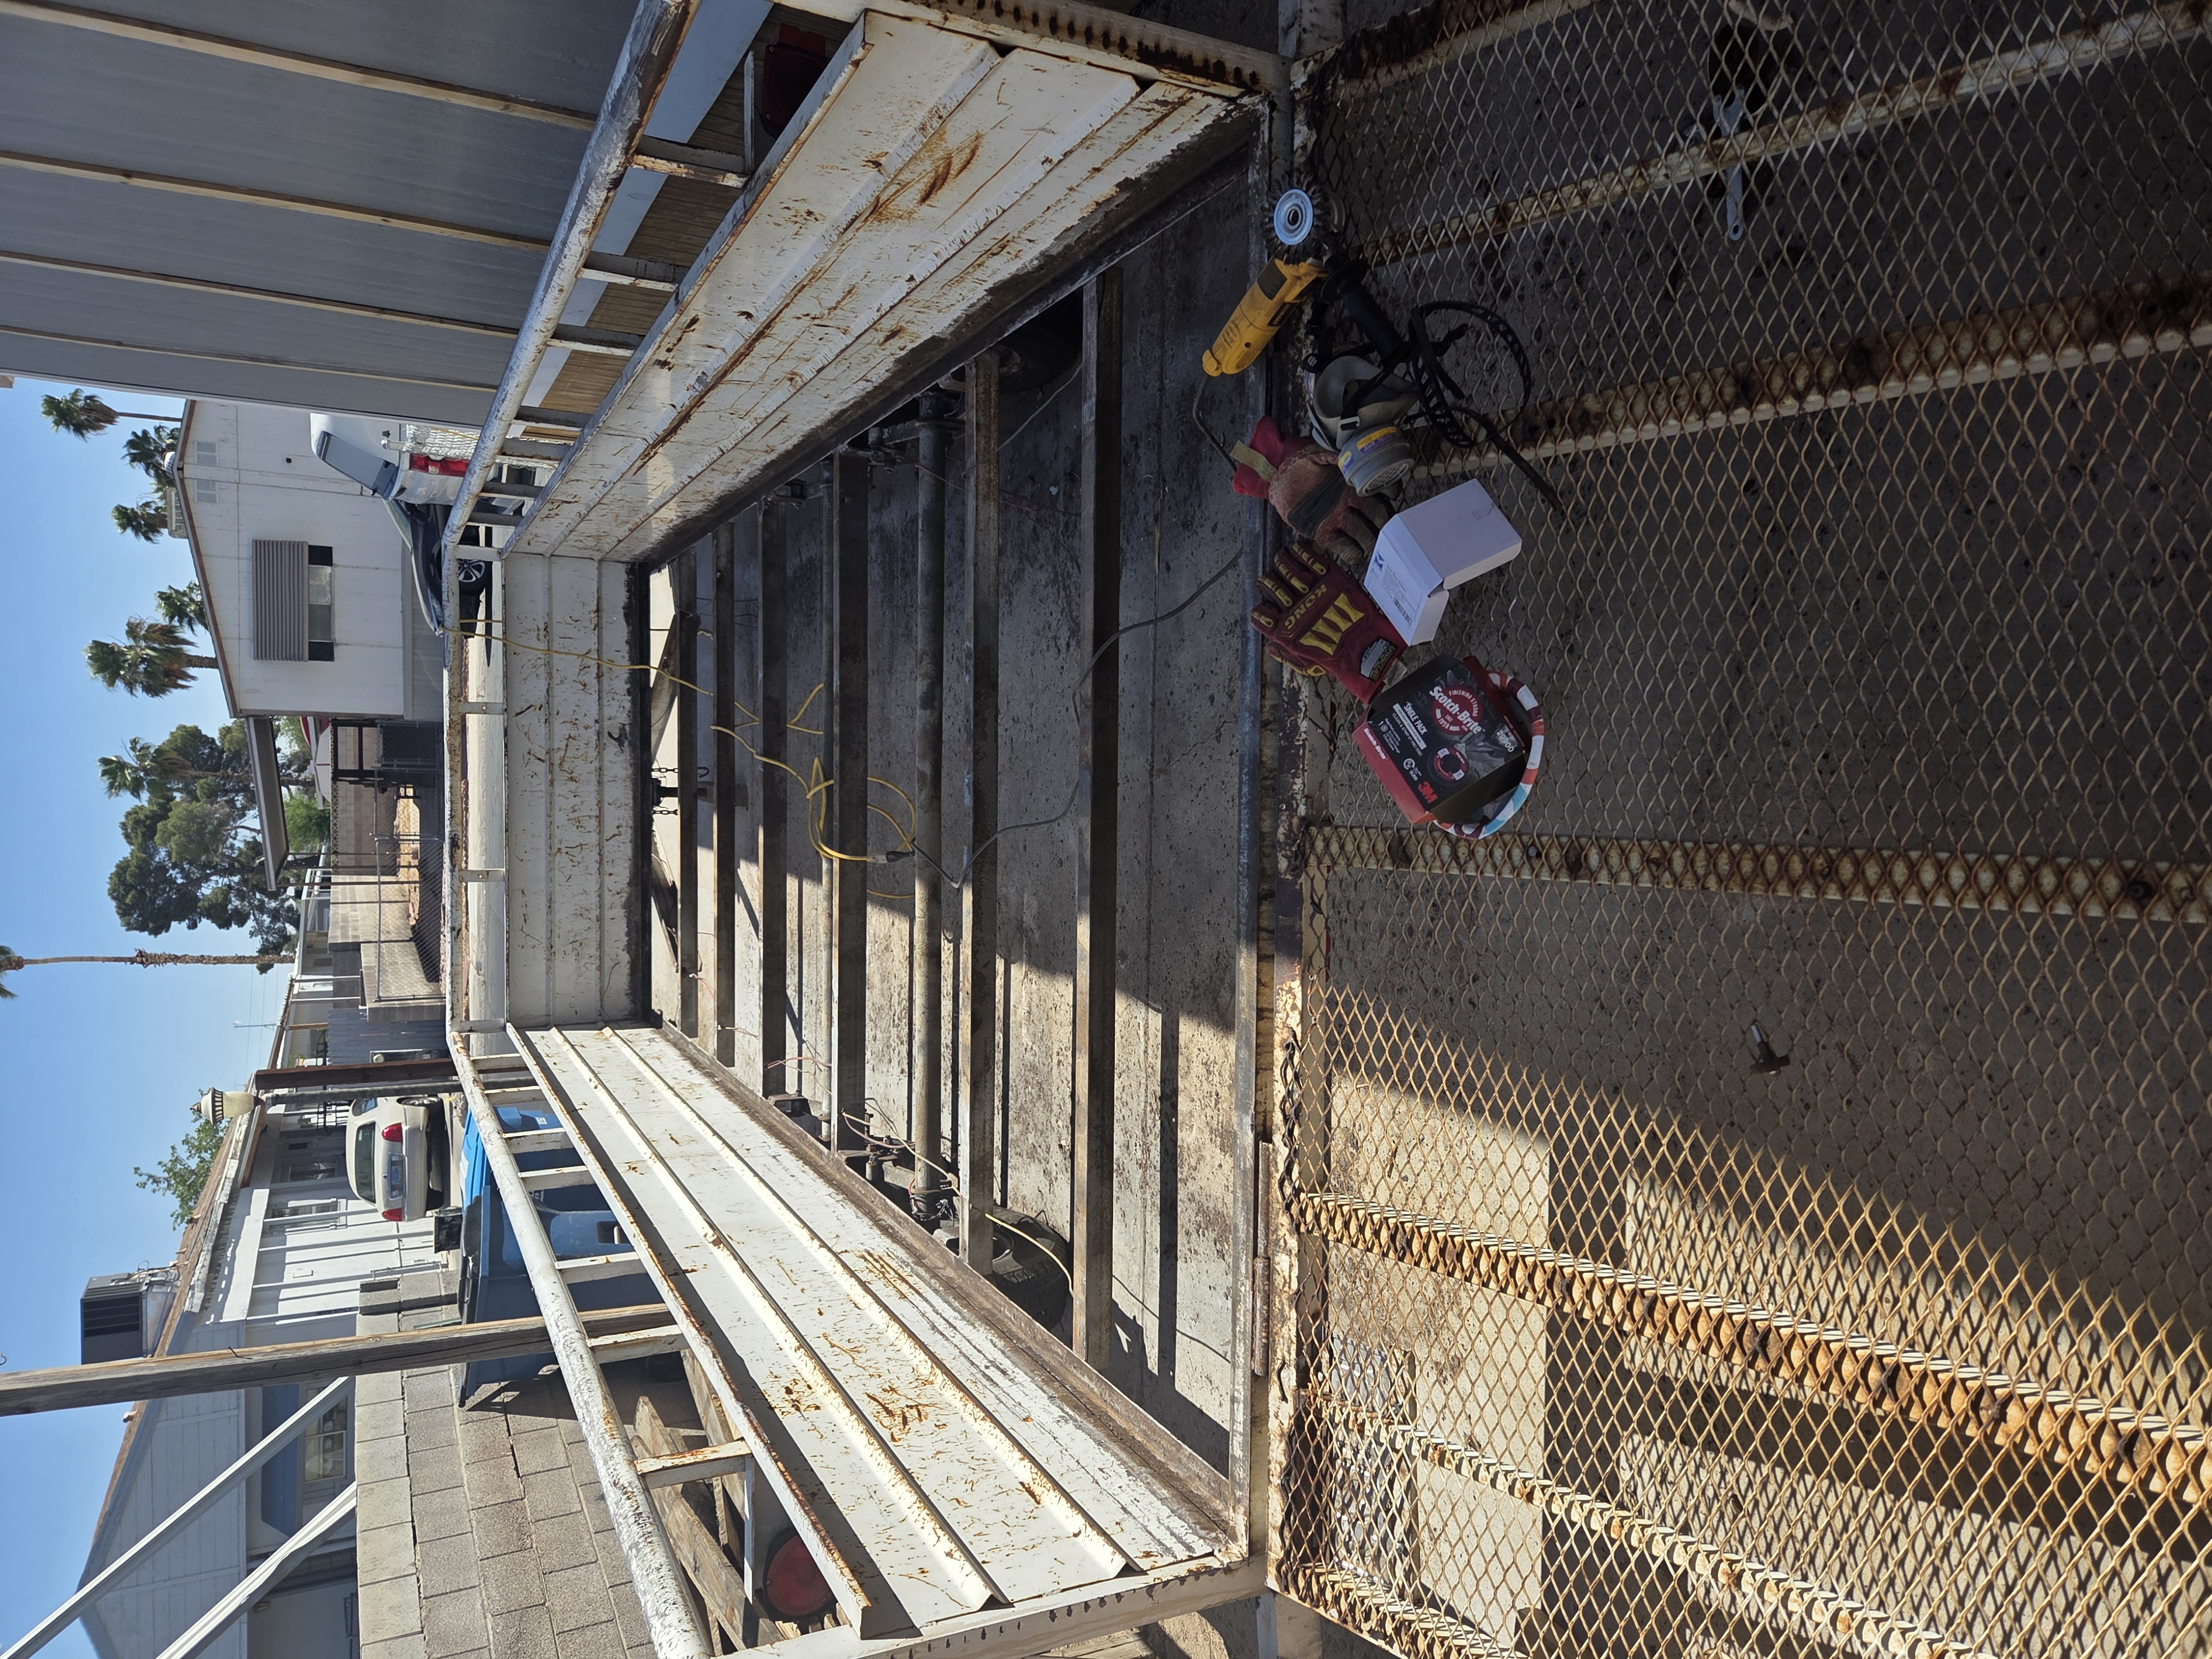
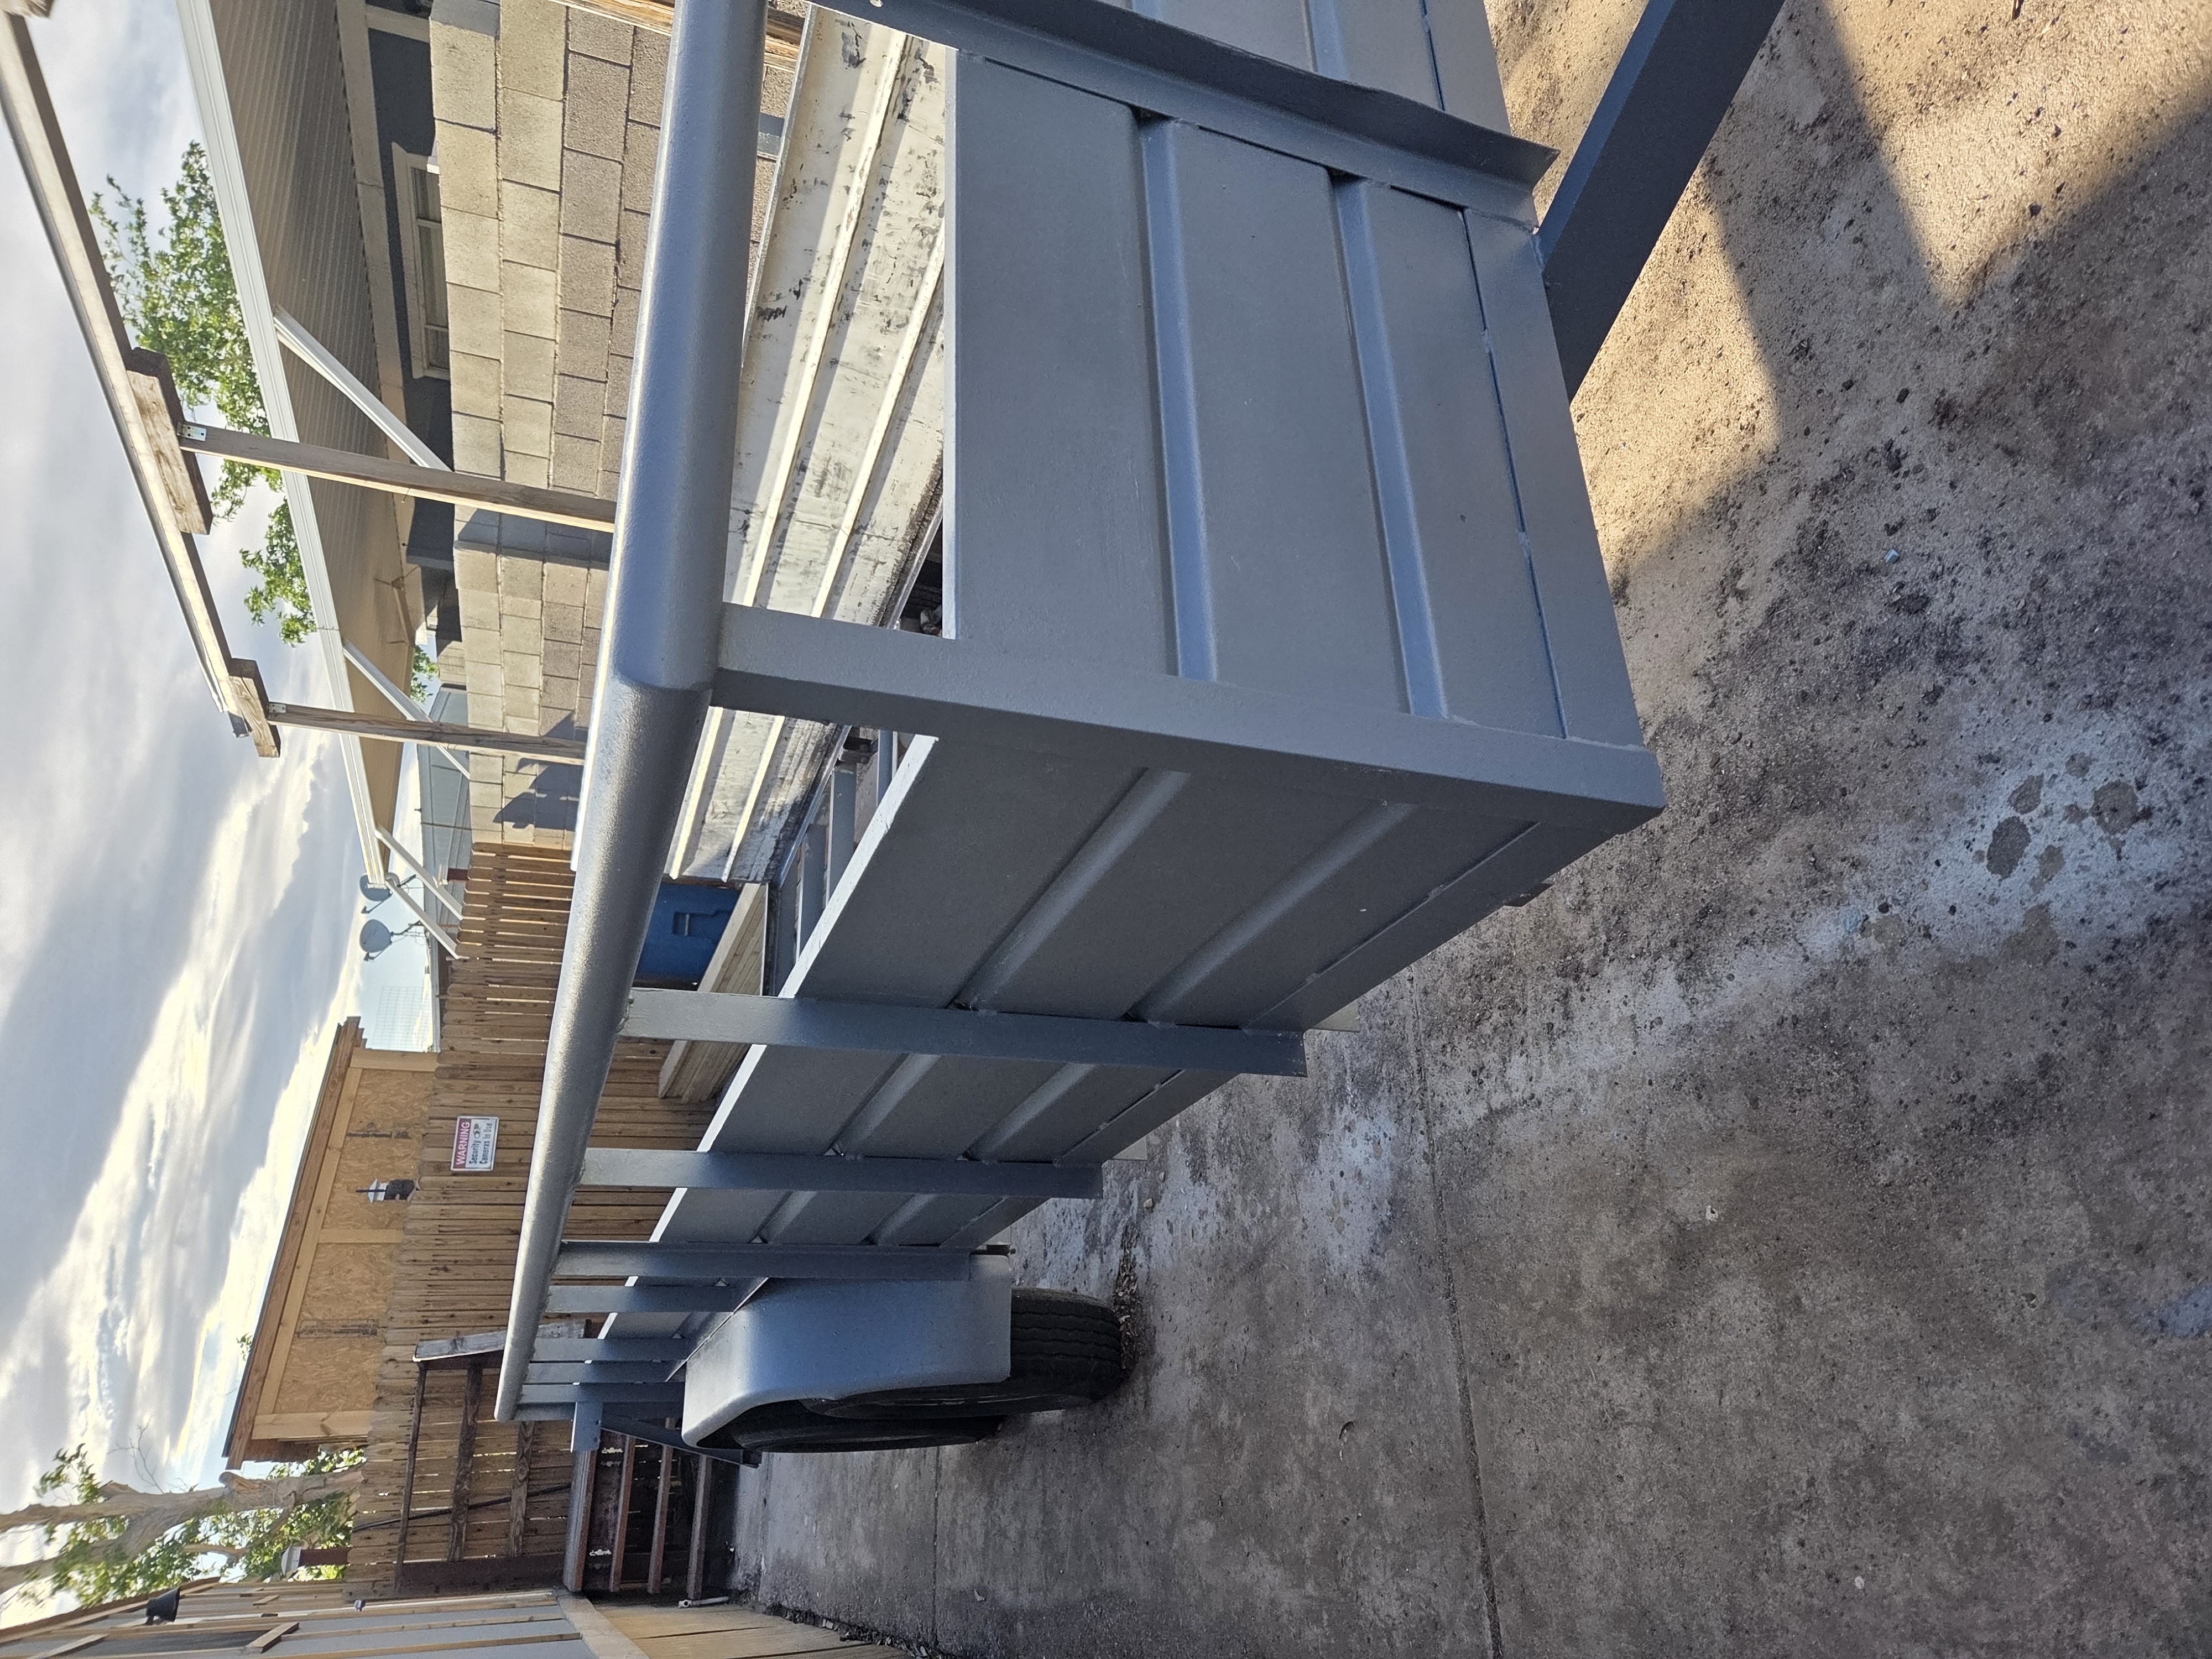
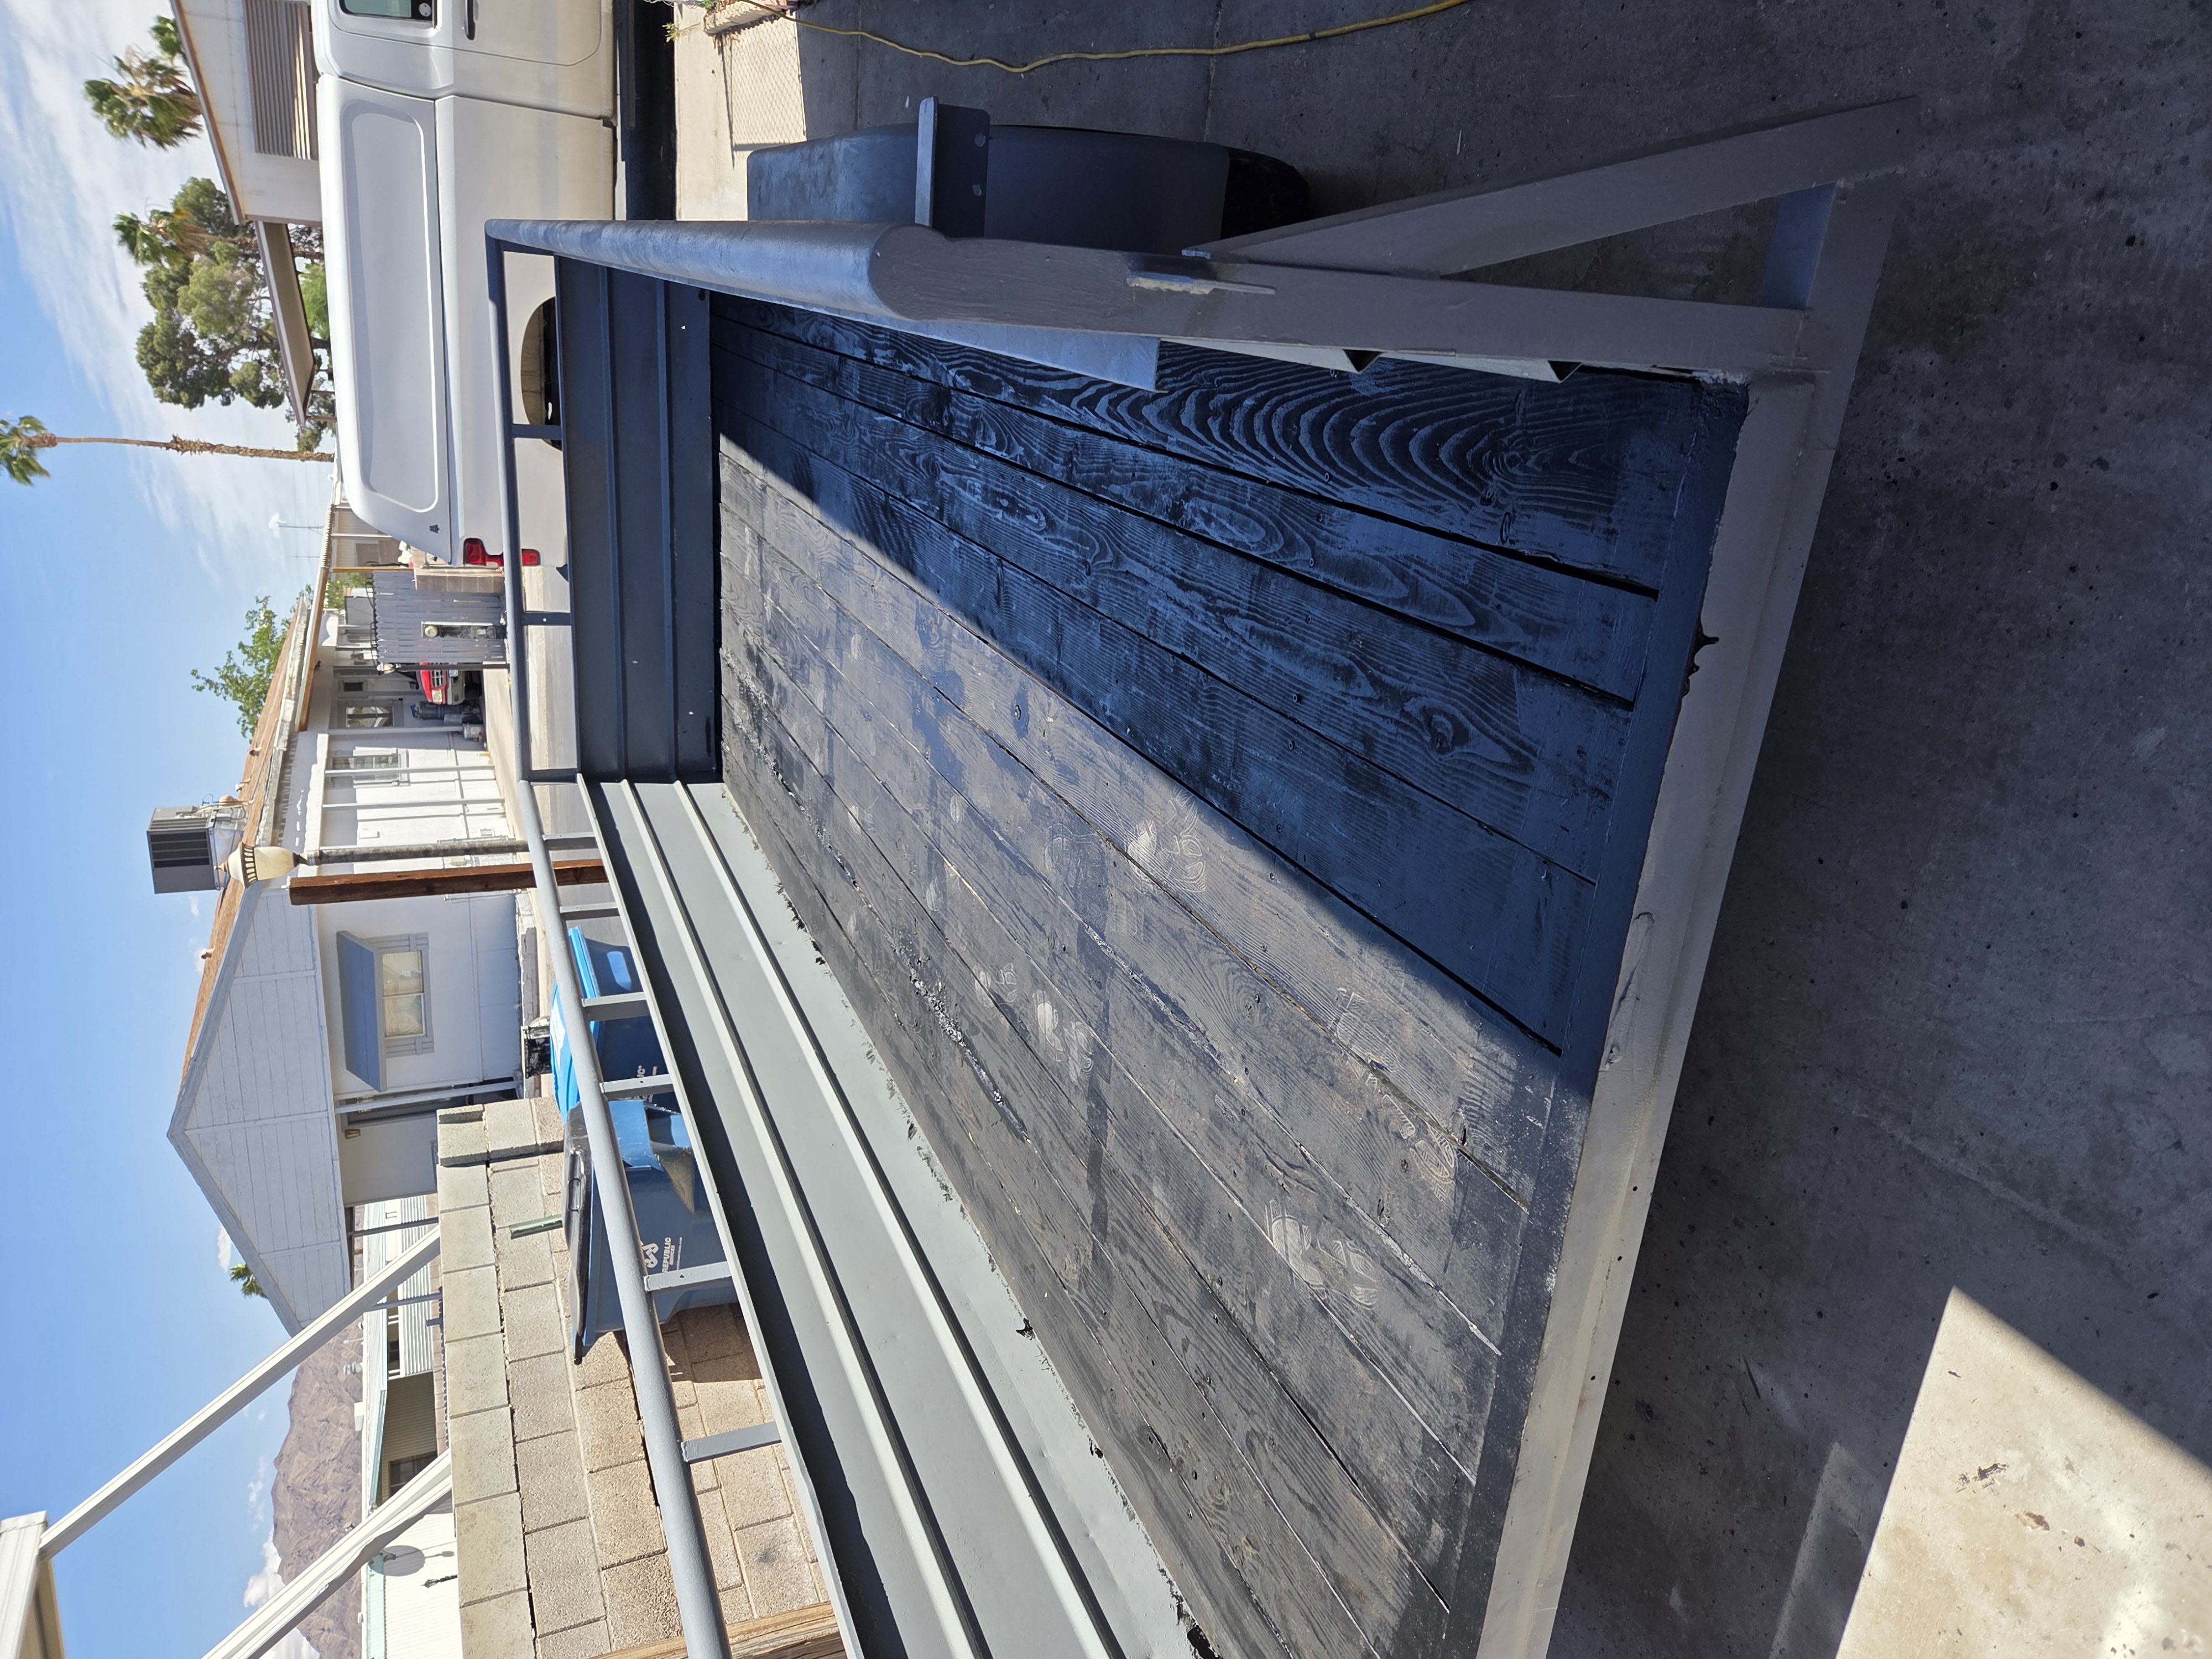
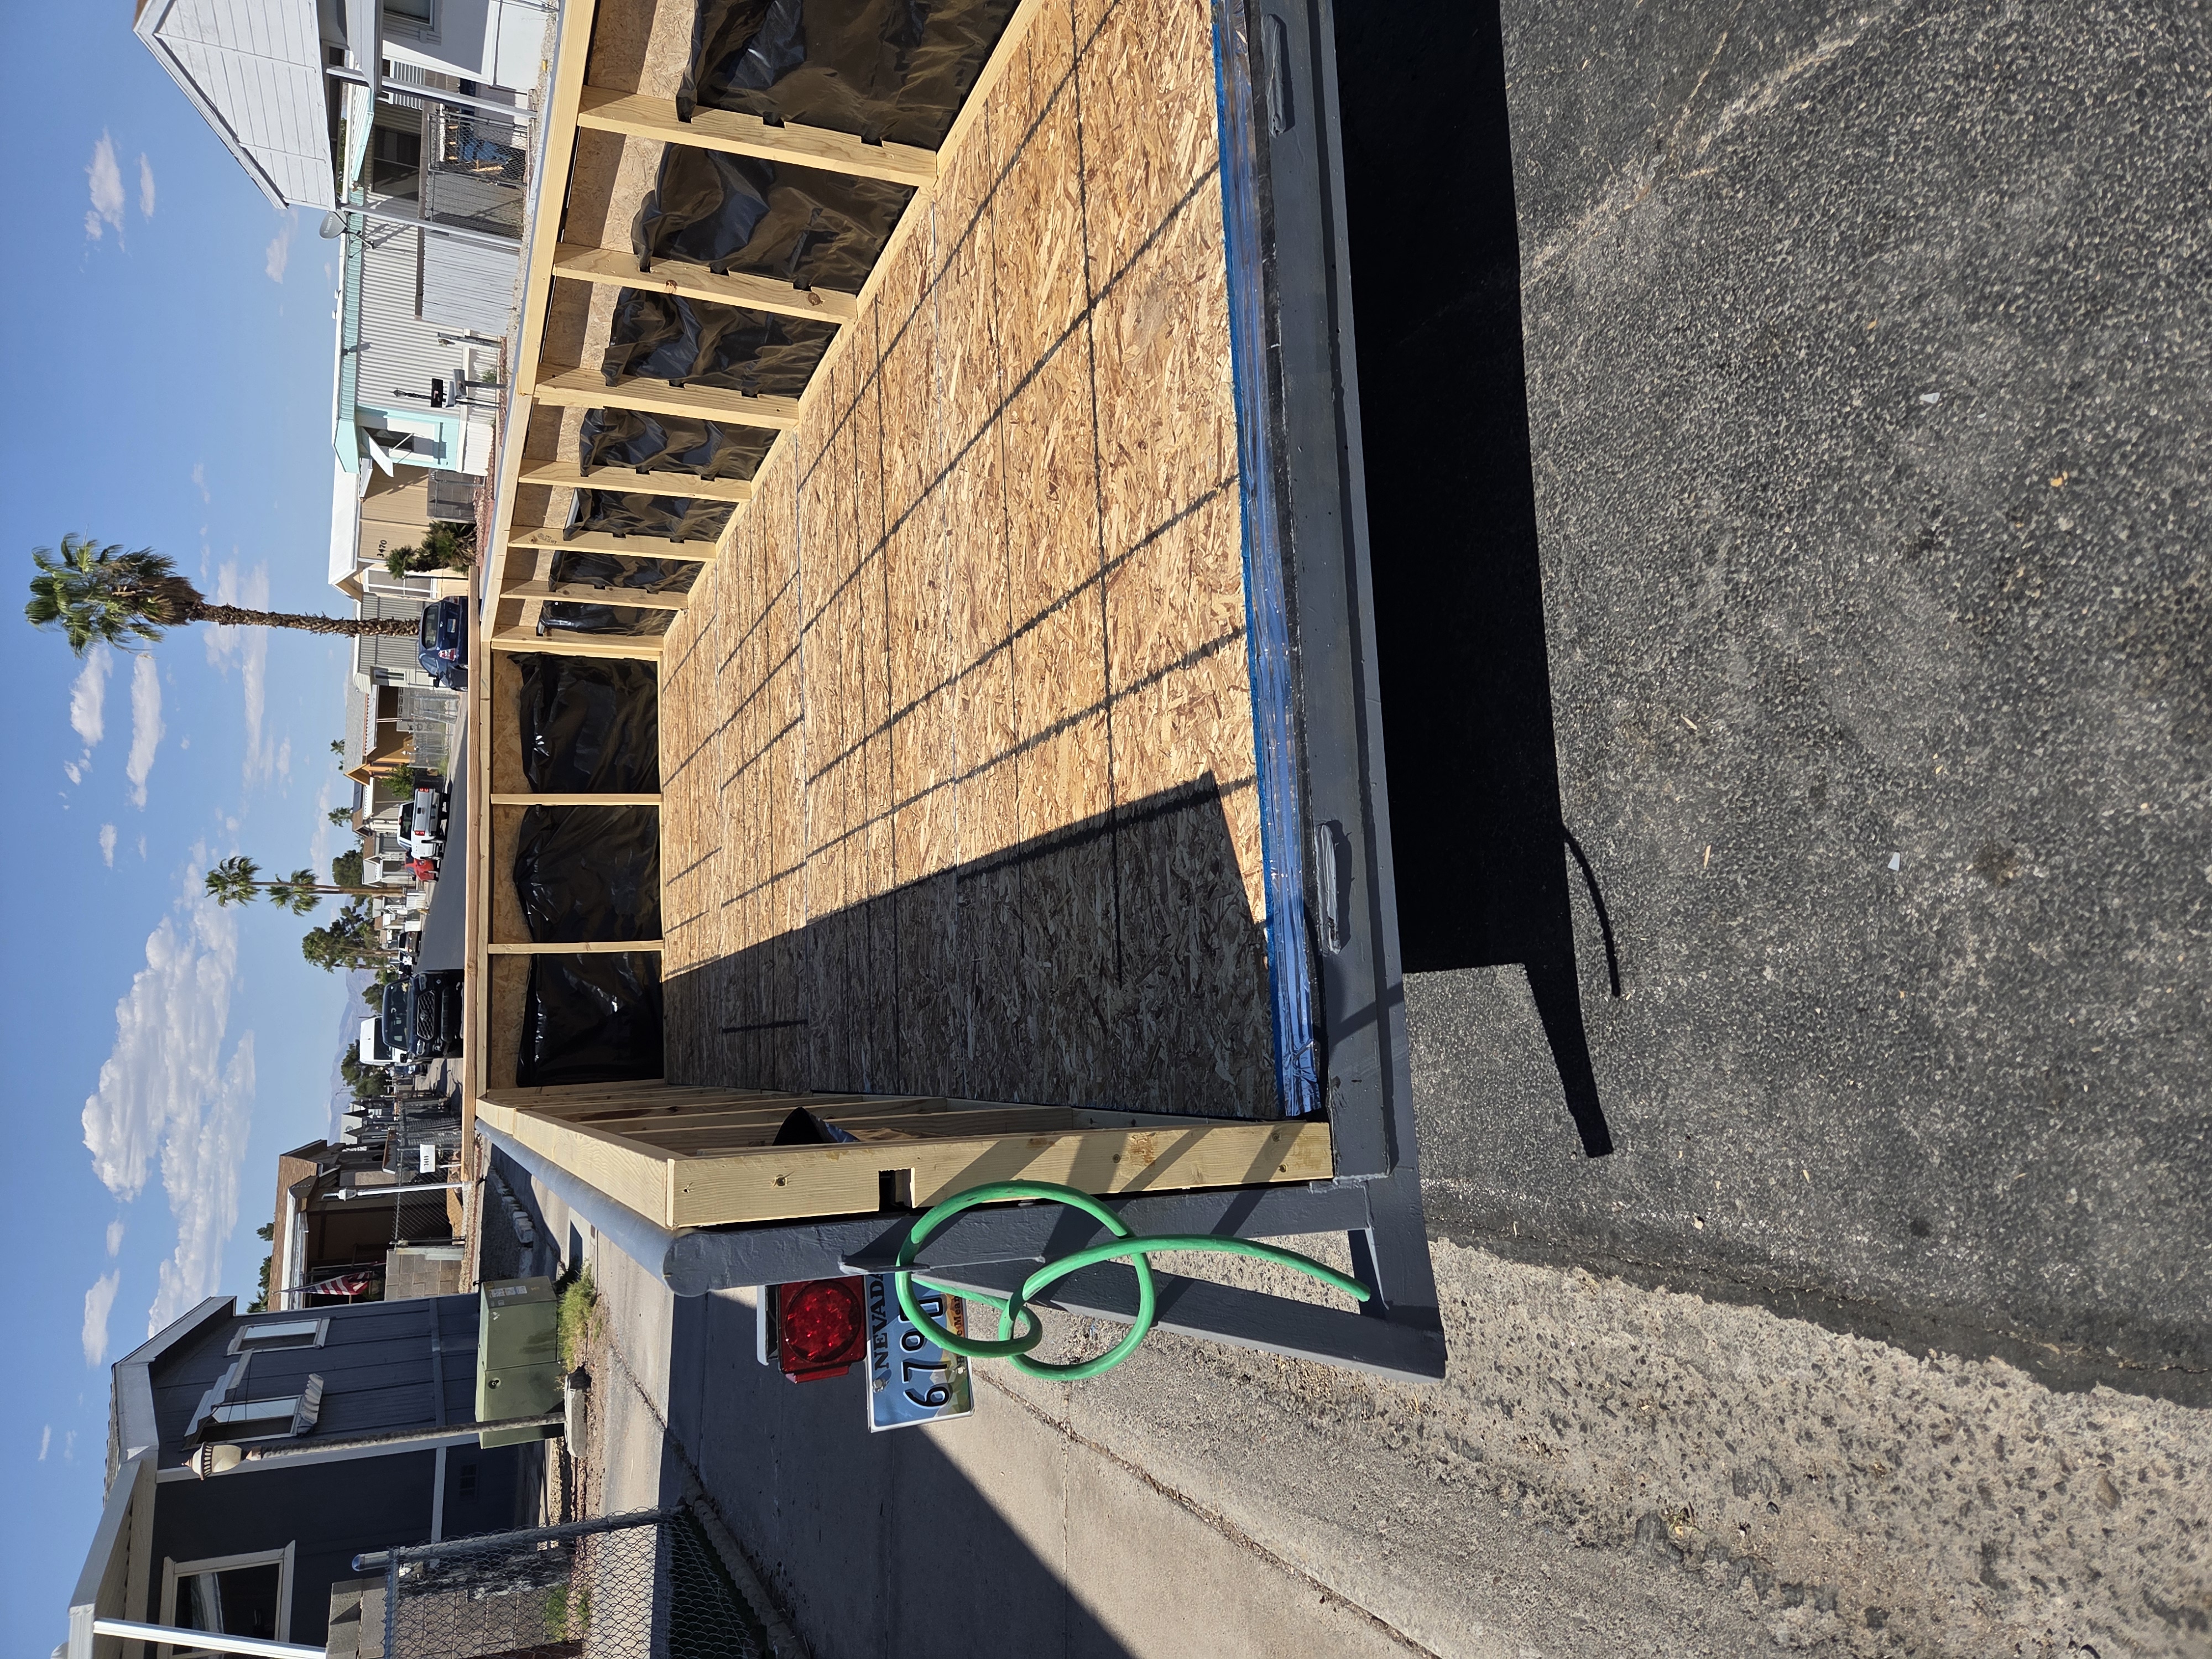
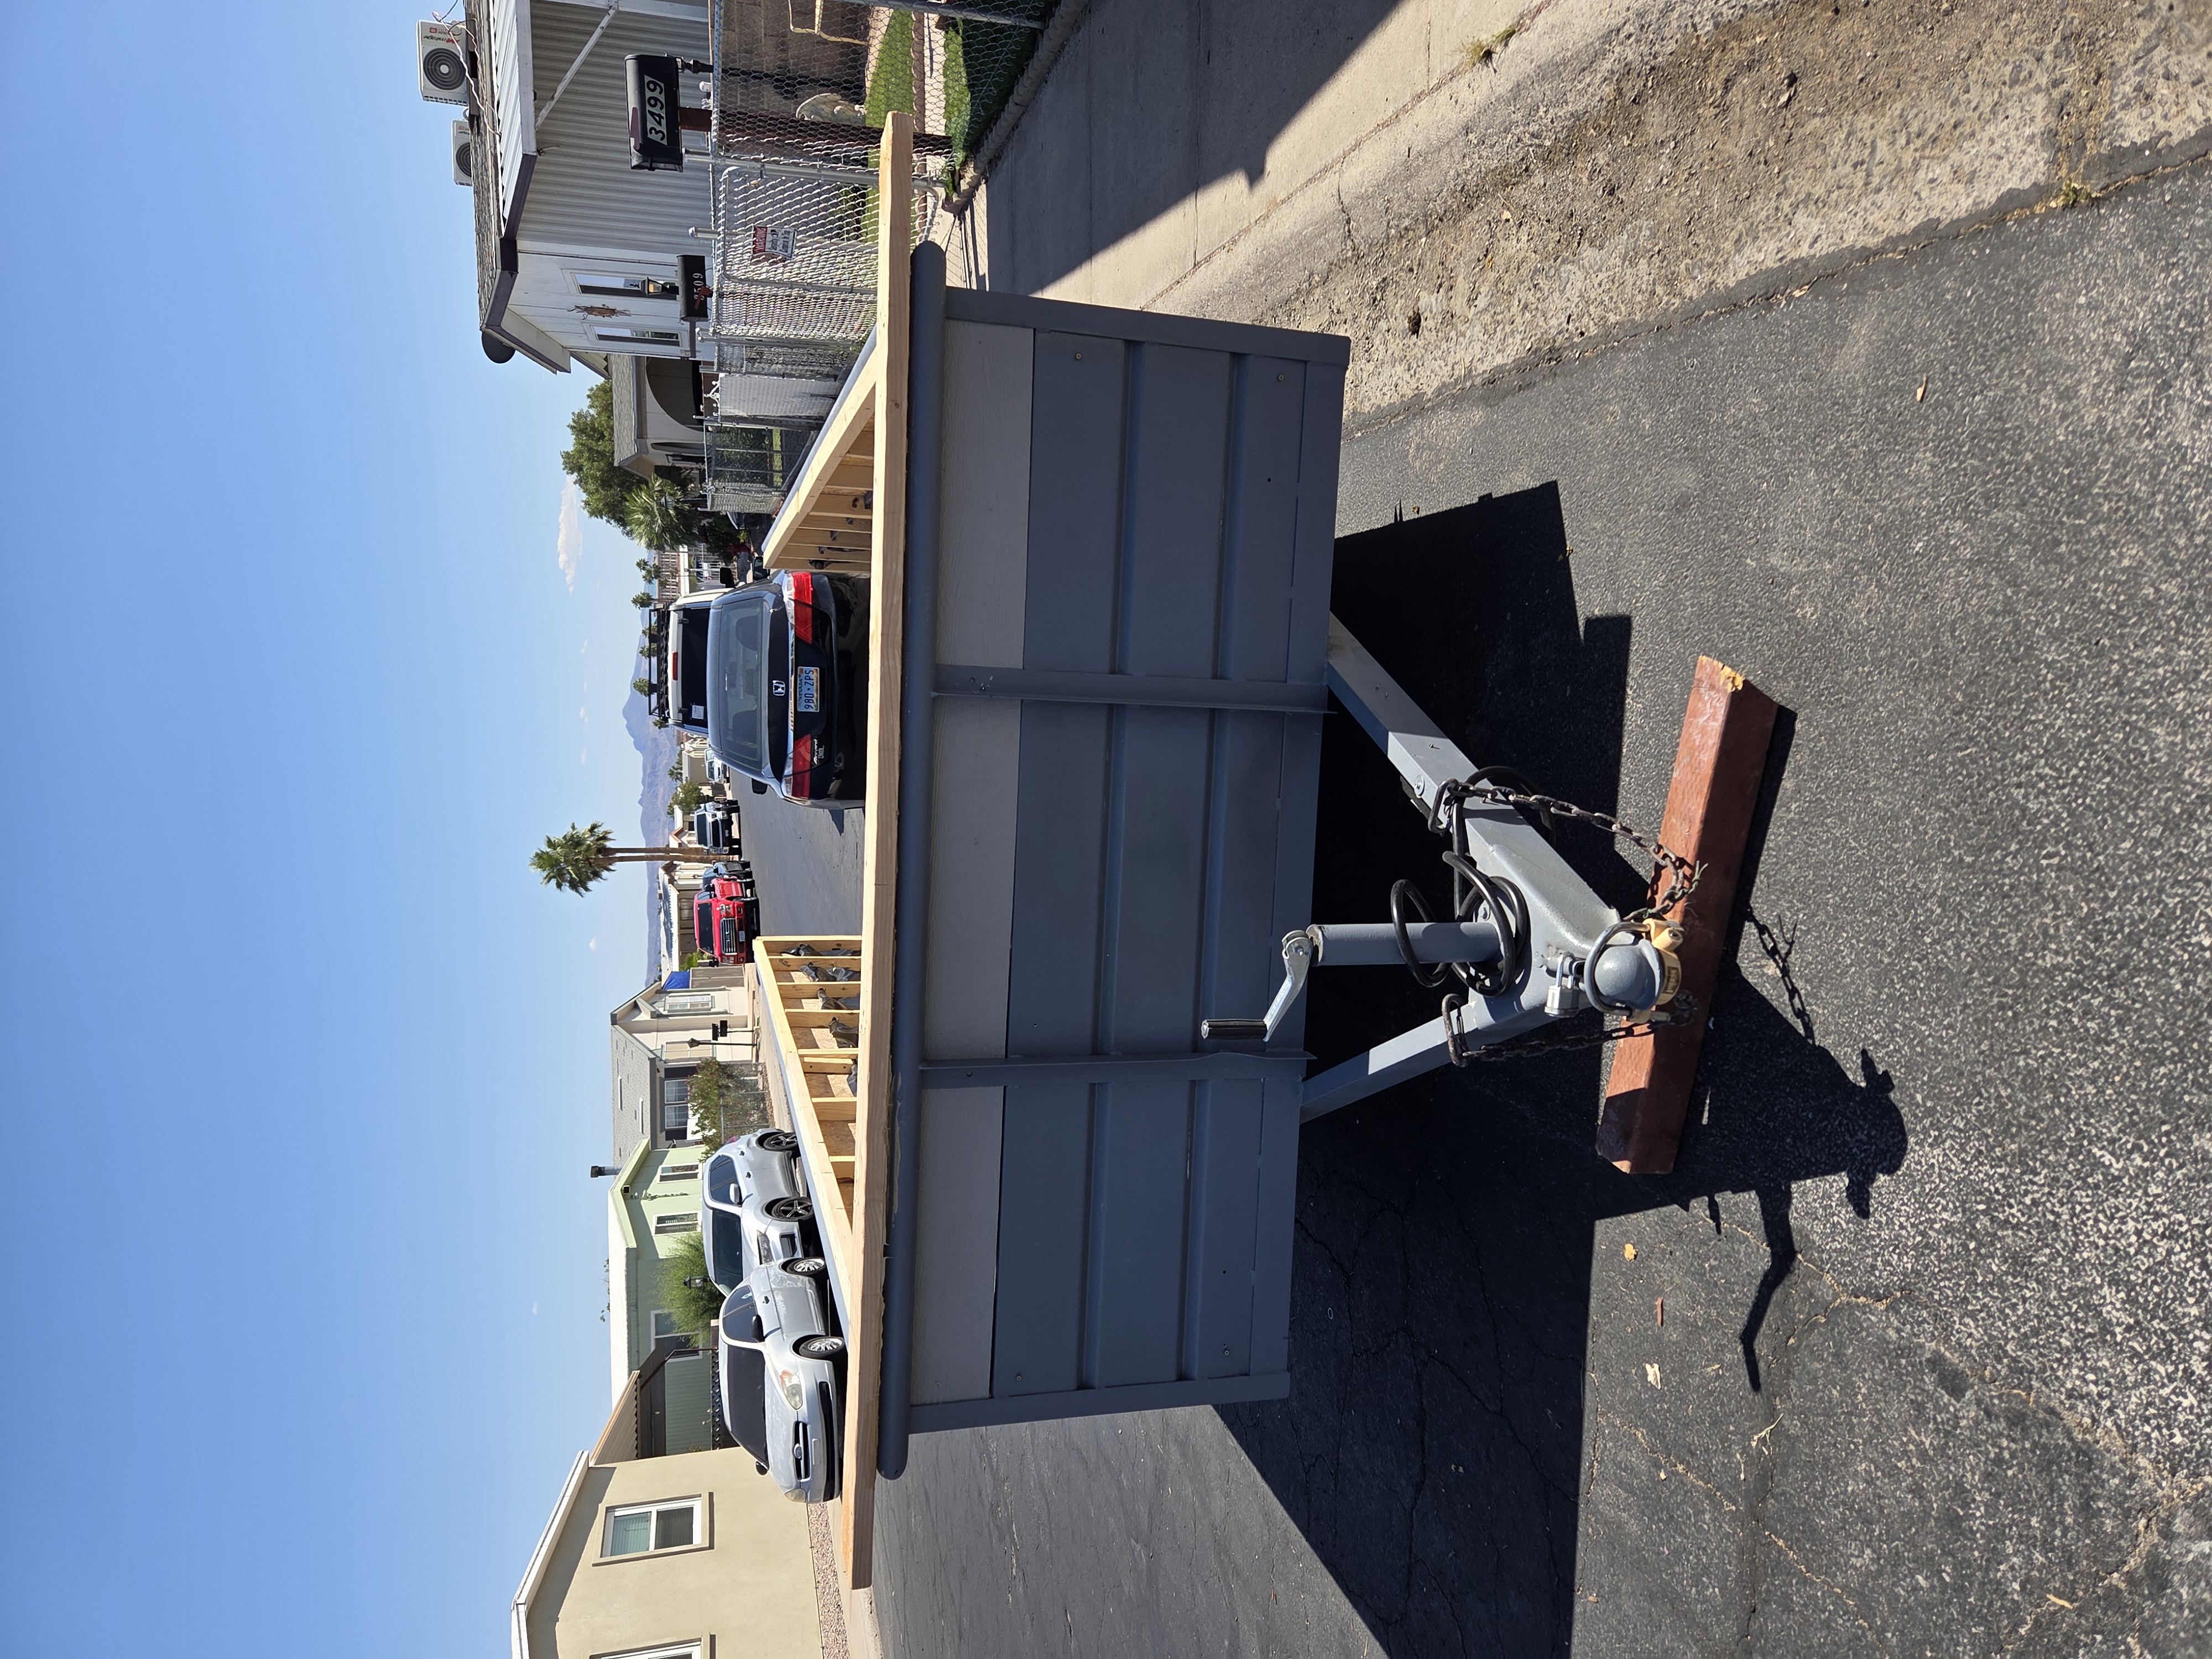
The TrailerEverything starts with a trailer. We bought a used trailer that has metal sides. The cargo area is 16 feet by 6 feet. The tongue adds a couple more feet in front for a total length of approximately 18.5 feet. I happen to have a nice pickup that can haul it but also intend to upgrade in the next year to either a bigger pickup or a big old van like I used to have.The trailer cost about $2500 but it was in great shape structurally. It did have rust on the body and really needed a wiring overhaul but I've done stuff like that before so it wasn't daunting. I spent a couple weekends with rust neutralizer and my angle grinder with wire wheels and cutting disks to clean up all the messy parts. I removed the ridiculously heavy tailgate because I'm not a spring chicken anymore and I dont want to be lifting a 70 pound steel tailgate when I eventually hit my 70s. The back wall of the vardo will come right to the end of the trailer and there will be removable steps for going in and out. A couple coats of farm and equipment paint made it look like new. The compliments I've gotten from neighbors on how good it looks surprised me. I guess they're used to people having really ugly trailers around here. Right click and open image in a new tab to see the full size version.
Before
After
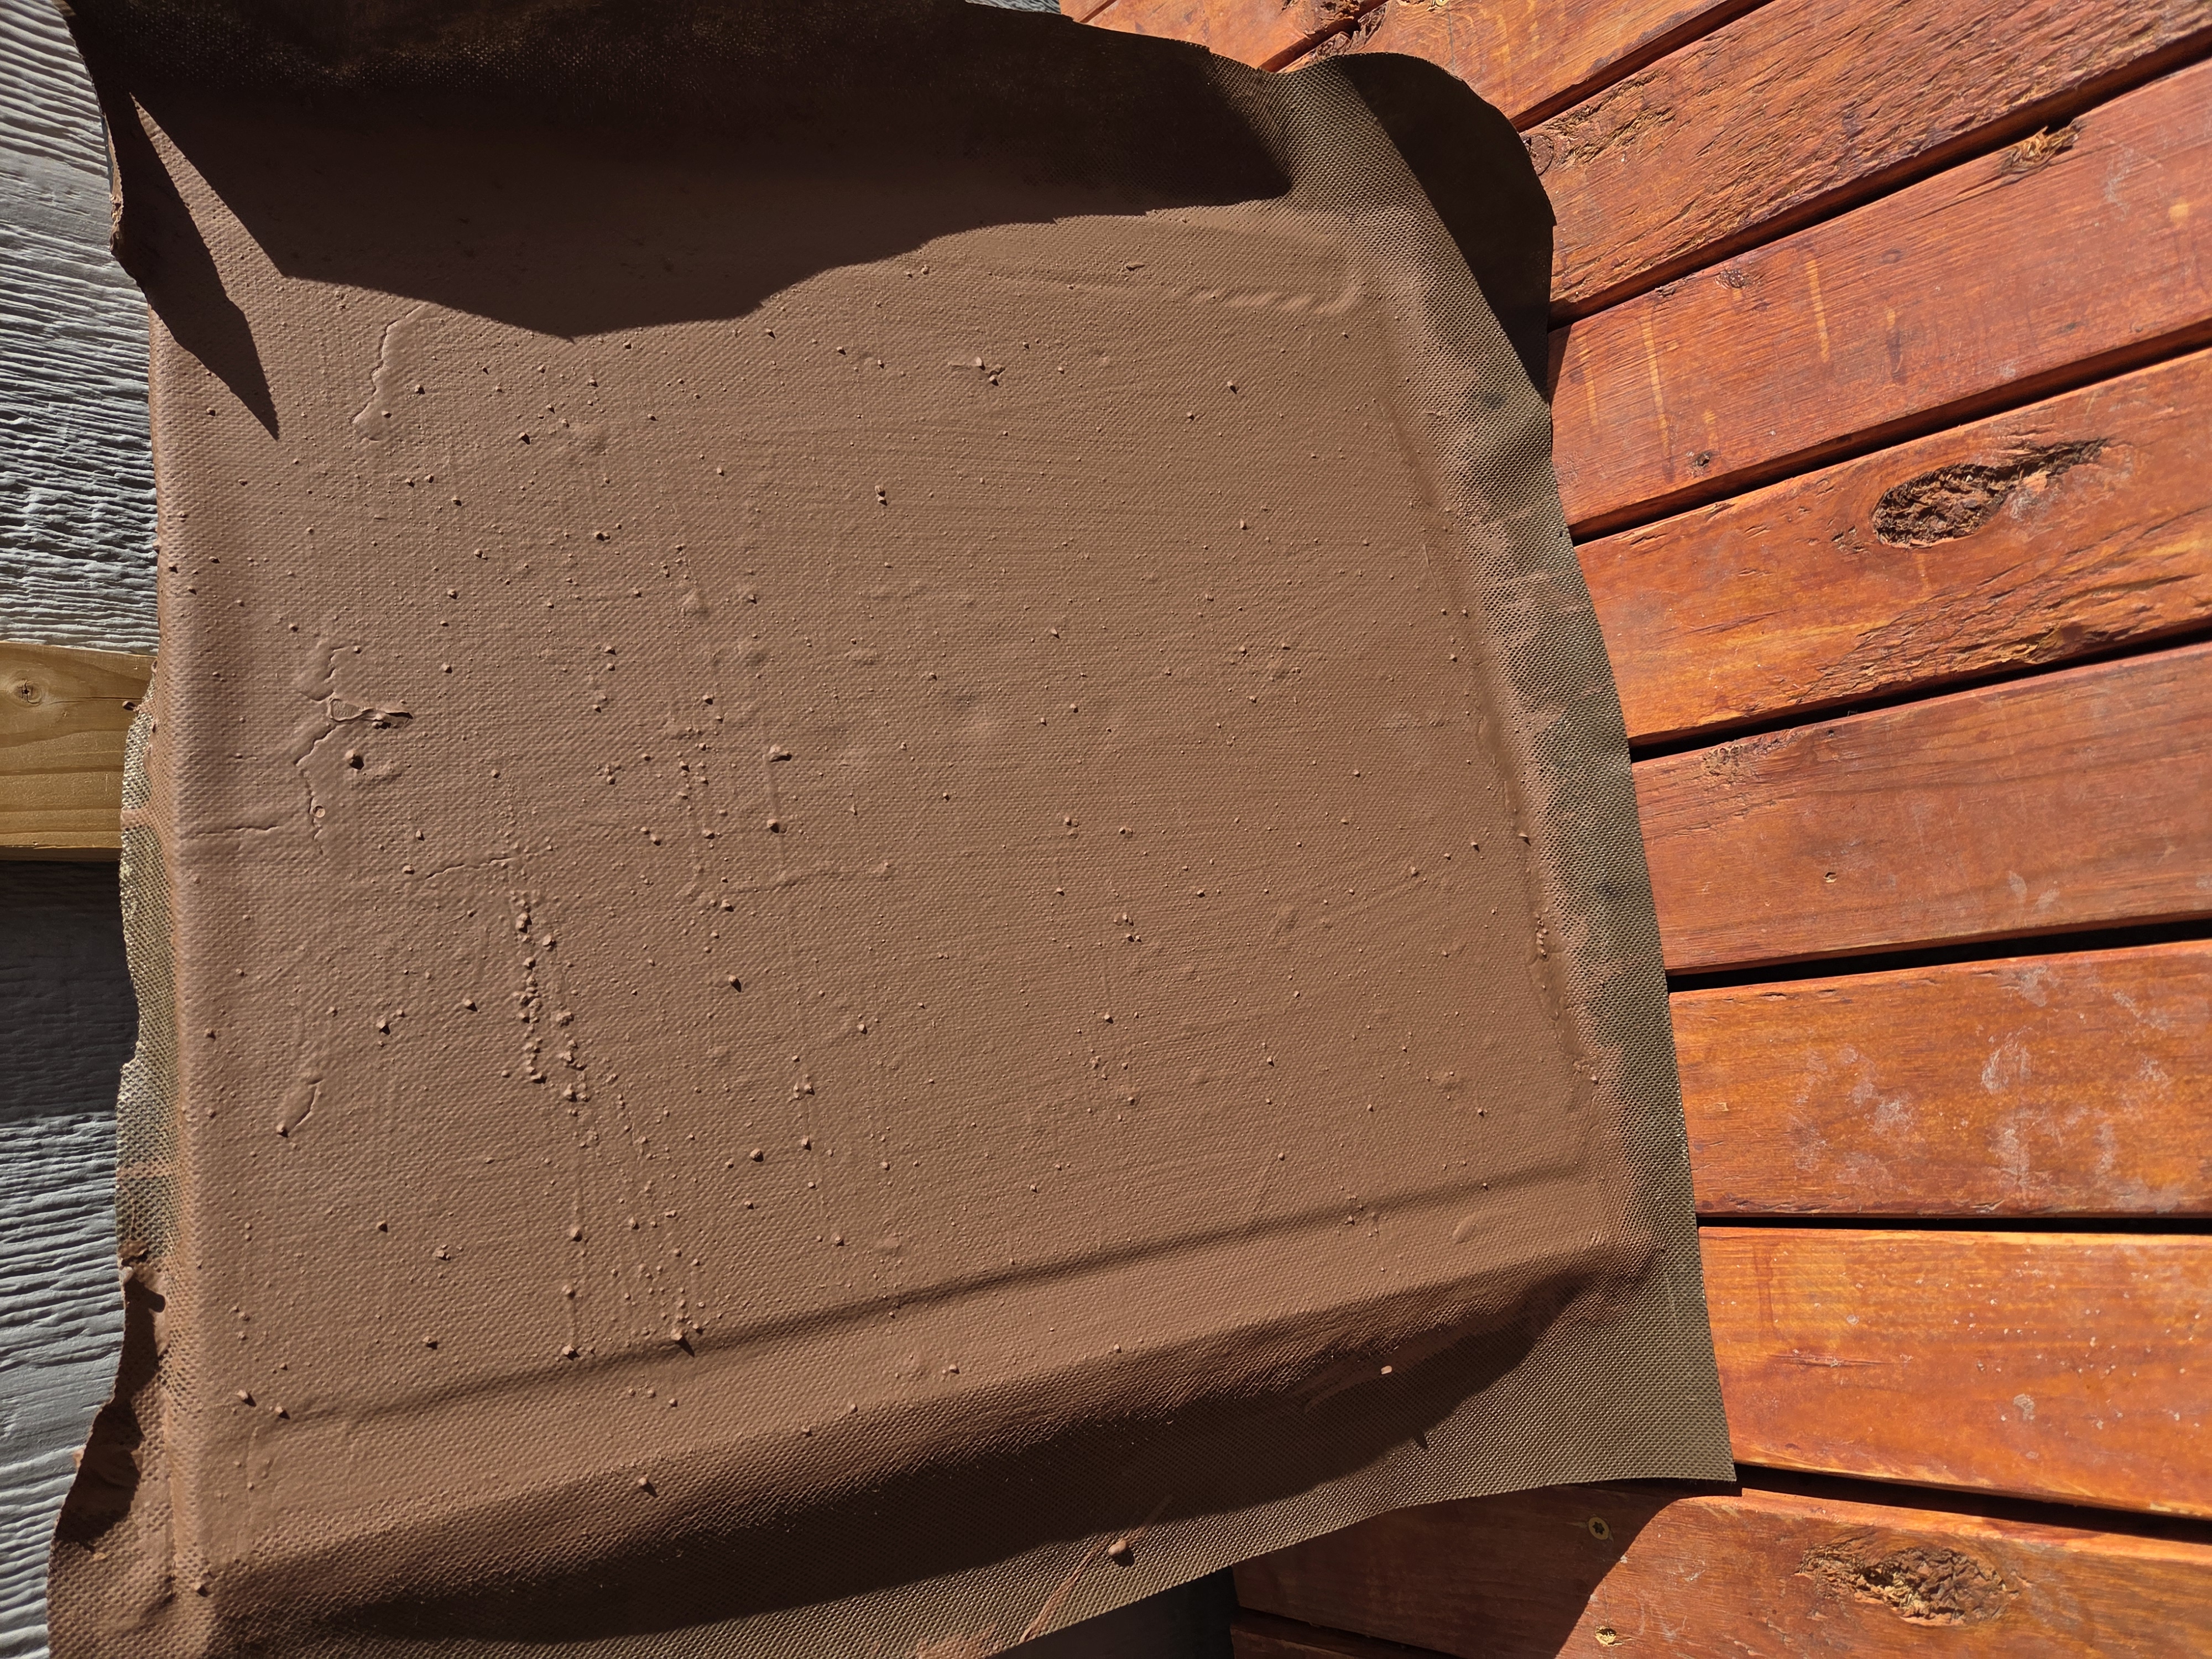
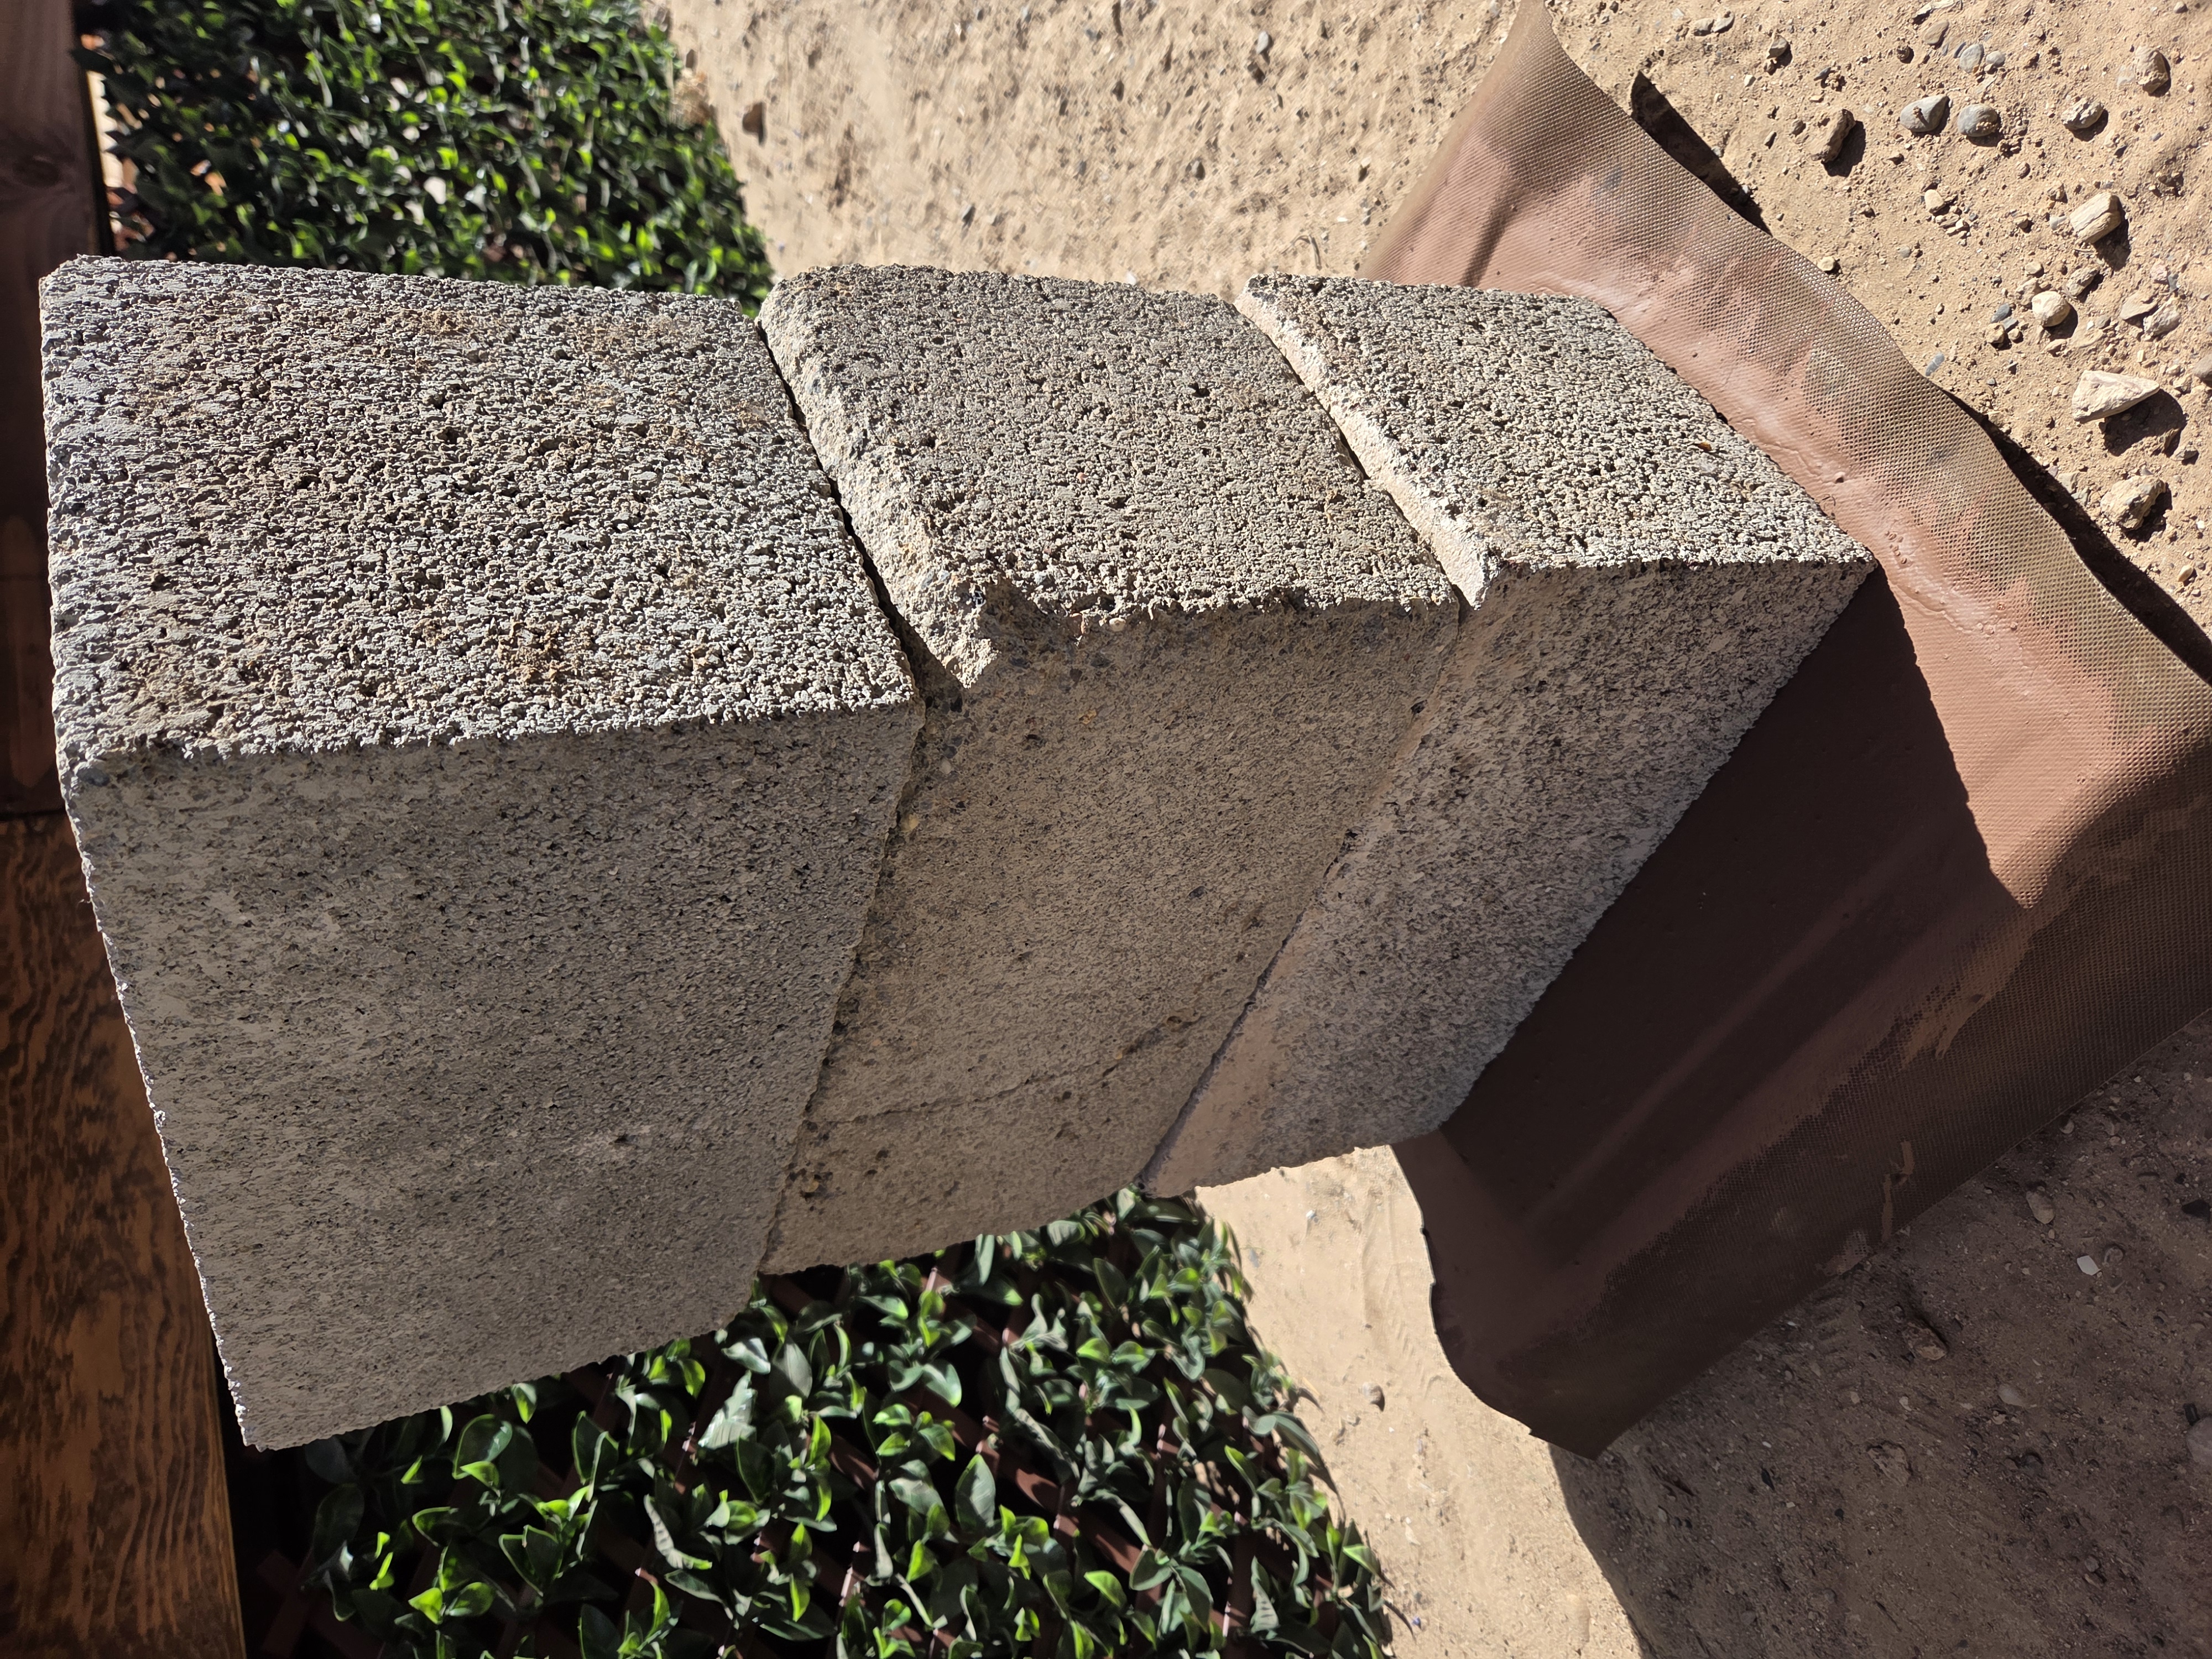
ExperimentsOne of the decisions I made was to use PMF (Poor Man's Fiberglass) as a covering. Most of the vardo's I see are built with lots of wood but use this on the roof. I also started studying the whole foamie trailer genre and came to a compromise decision. I would build the framing of wood for structural strength but use XPS foam coved by PMF for all the walls.But before I could commit to this I needed to know just how strong this stuff was and how easy it was to work with. I got a two foot square piece of 1 inch XPS and attached it to a a couple of 2x3 boards. I then tried a technique I recently stumbled upon which is different from most PMF builds. I used landscape fabric with the glue and paint to make PMF. The thing with standard PMF is that it uses canvas. Canvas frays, and wrinkles so it's a lot of work keeping a smooth surface. I saw a couple fellows using landscape fabric on YouTube and that looked like my solution. Atop the XPS I painted on a mixture of Titebond II and about 20% water mixed in to make it spread easier. I laid the landscape fabric on this layer of glue and used a squeege to press it into the glue. I then painted another layer of the glue on top of the fabric while the first layer was still wet. I let it dry overnight. I pushed and proded and even punched it and in just this state it was plenty strong. The fabric adds lateral strength to the foam so that it doesnt easily flex and break. It's kind of like making a surfboard. I then got some exterior paint from the ReStore across town and proceeded to paint 3 layers on top of the landscape fabric. It's an ugly brown but, hey, this is an experiment. Let me tell you, I was shocked at how strong this stuff is. I leaned on it. I punched it. (I've been known to punch through walls when I'm feeling stupid so I'm not a light hitter). Then I stress tested it with multiple full size cinderblocks from my yard. It didn't even flex. THIS is the technique for me!
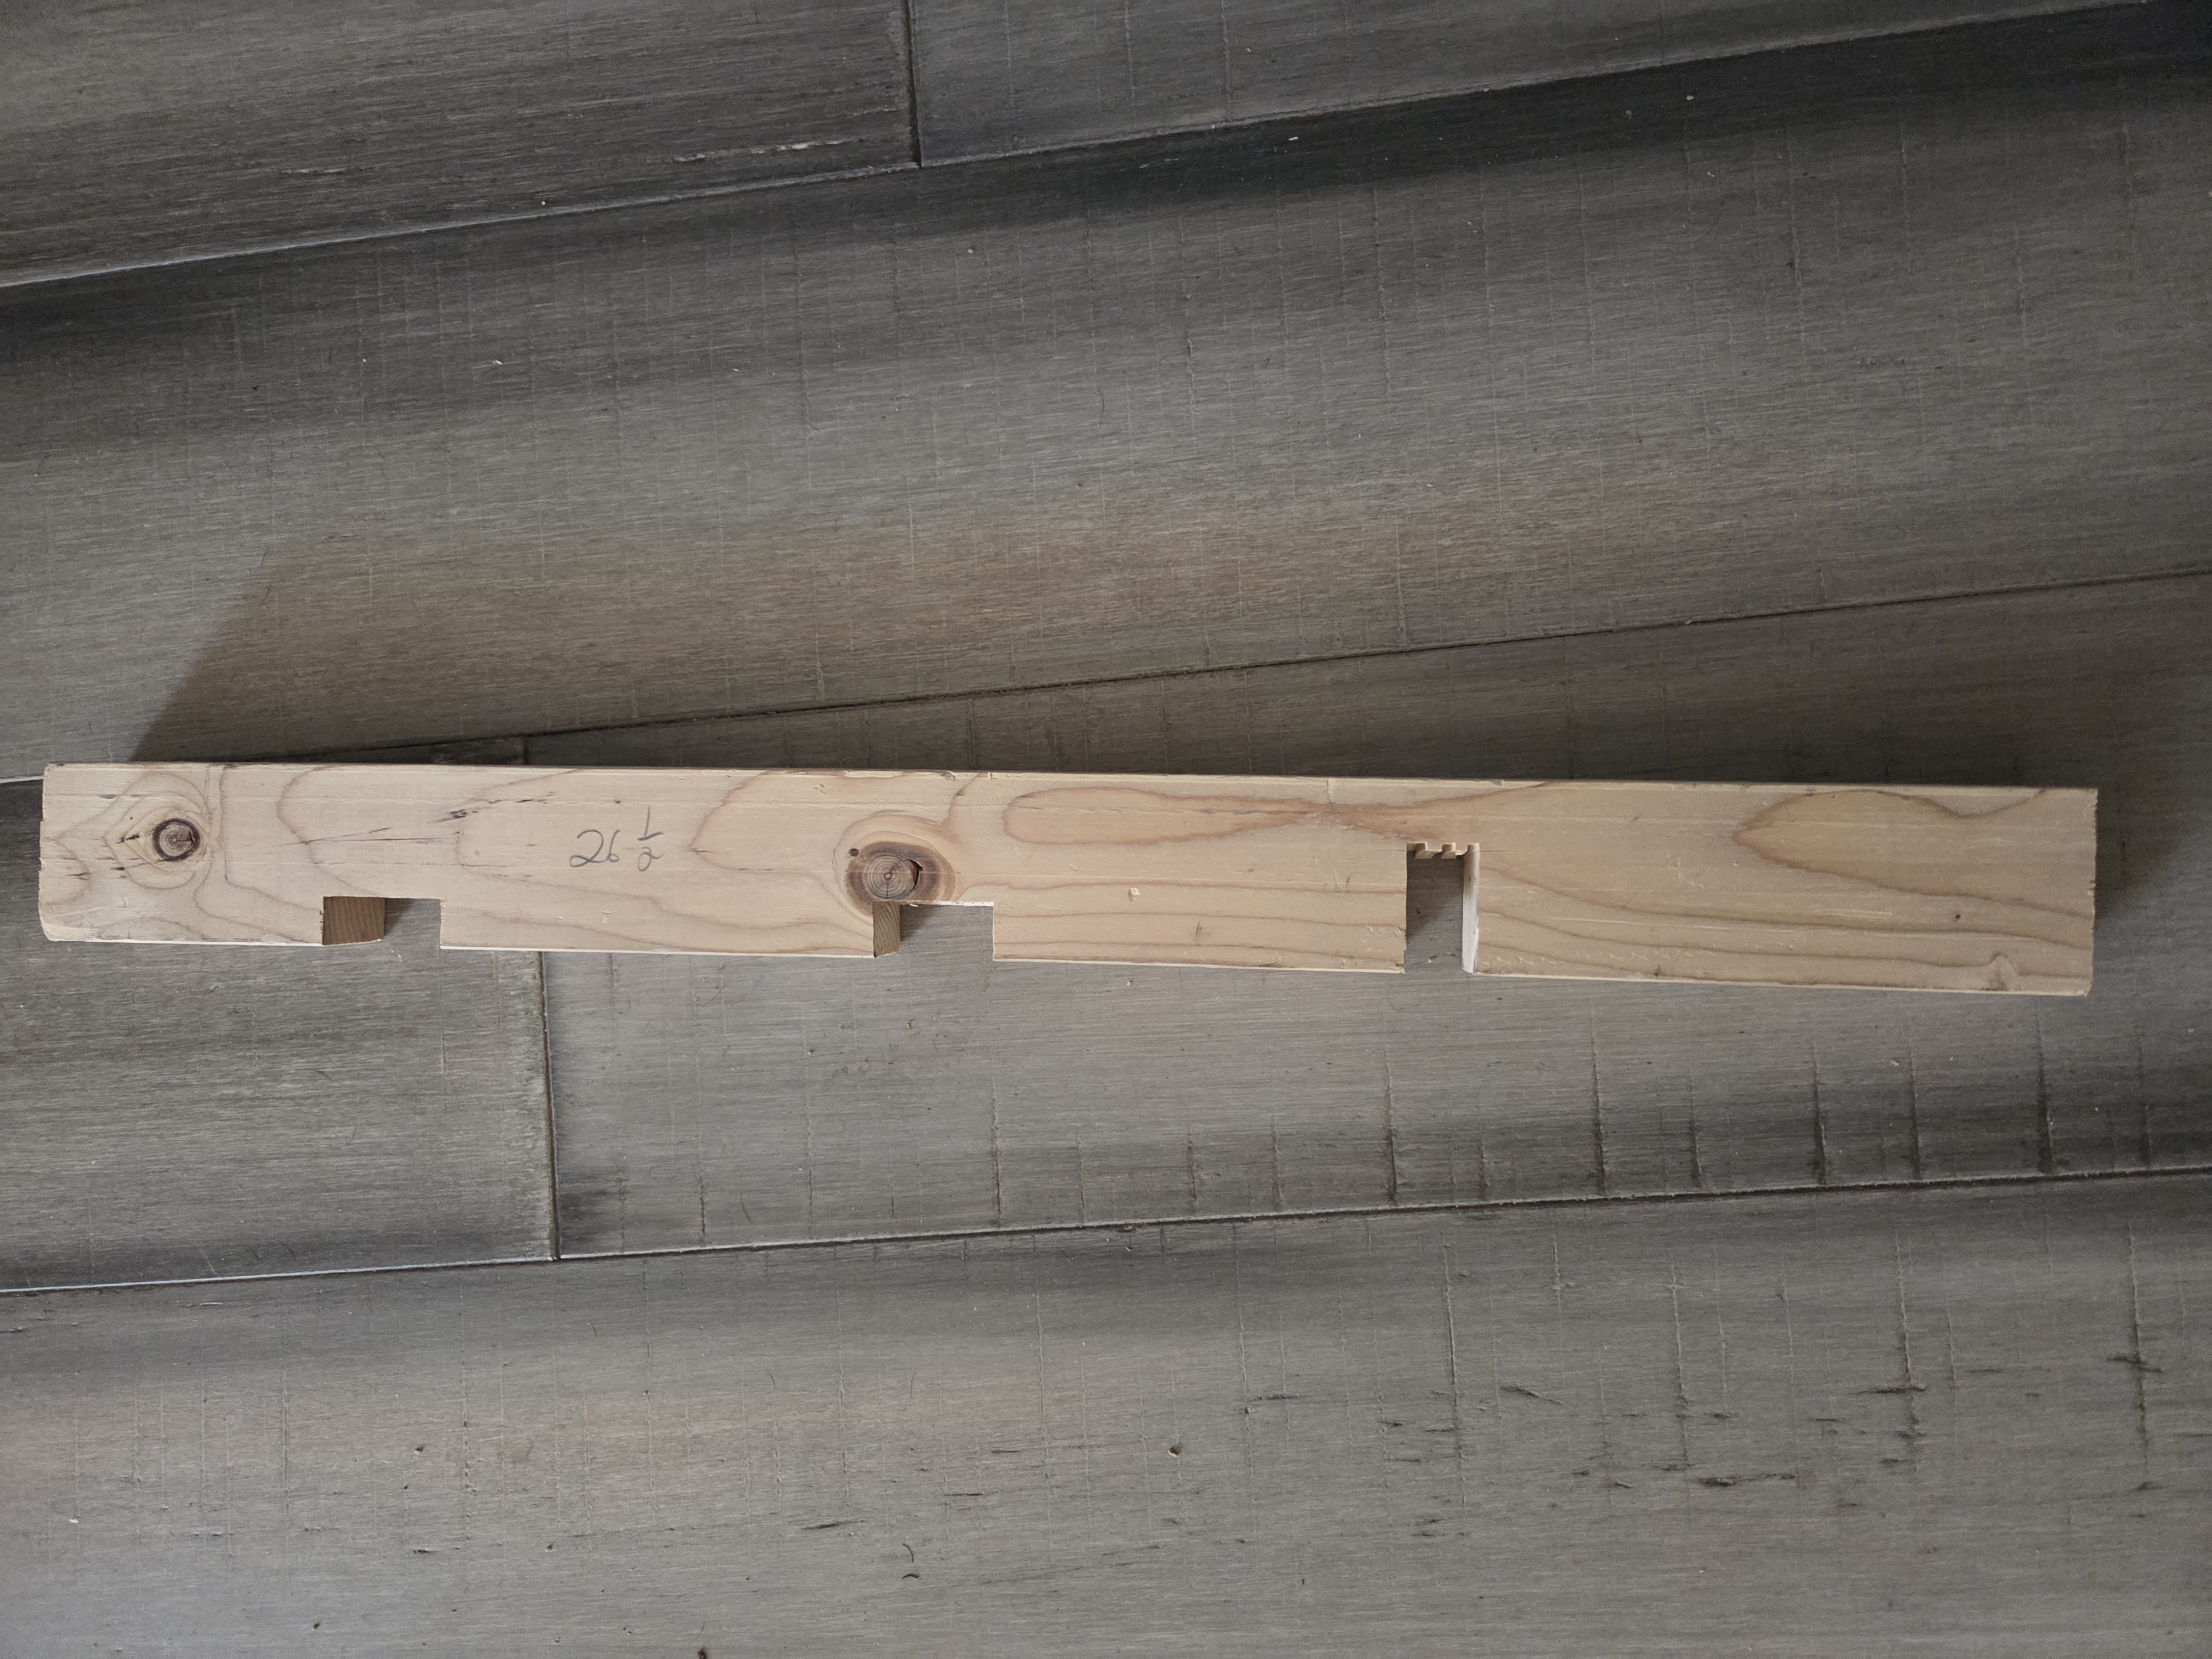
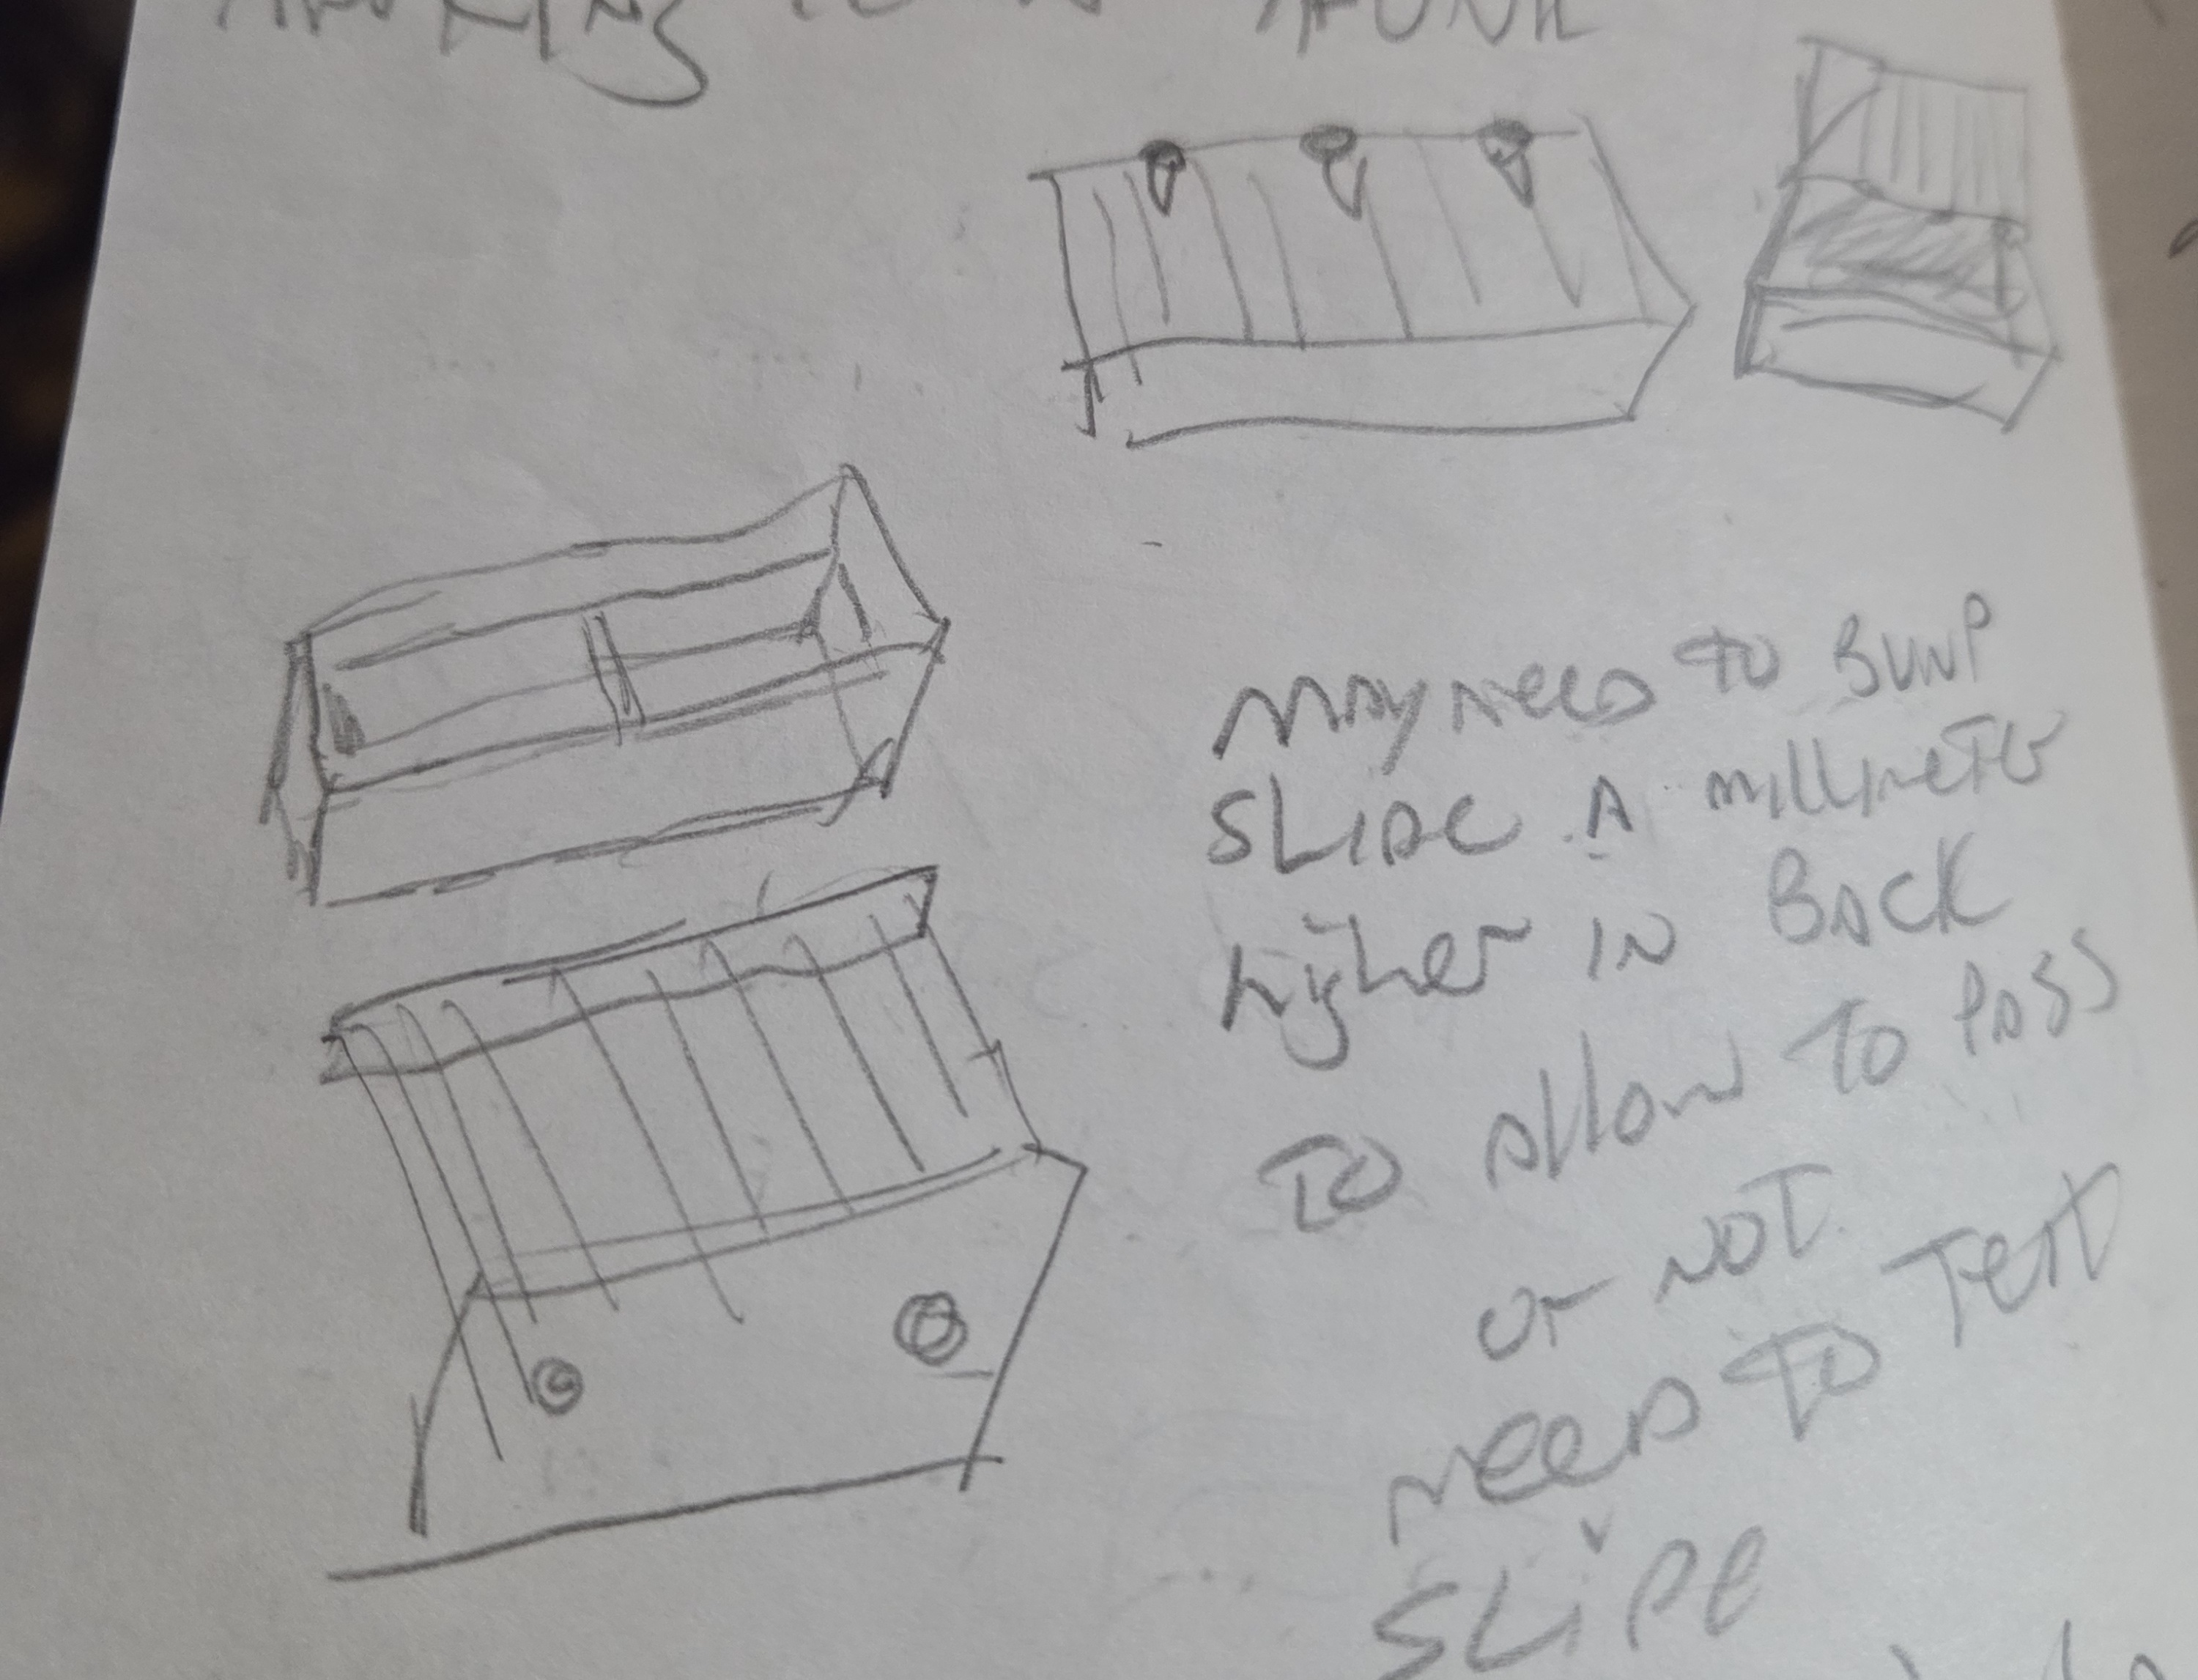
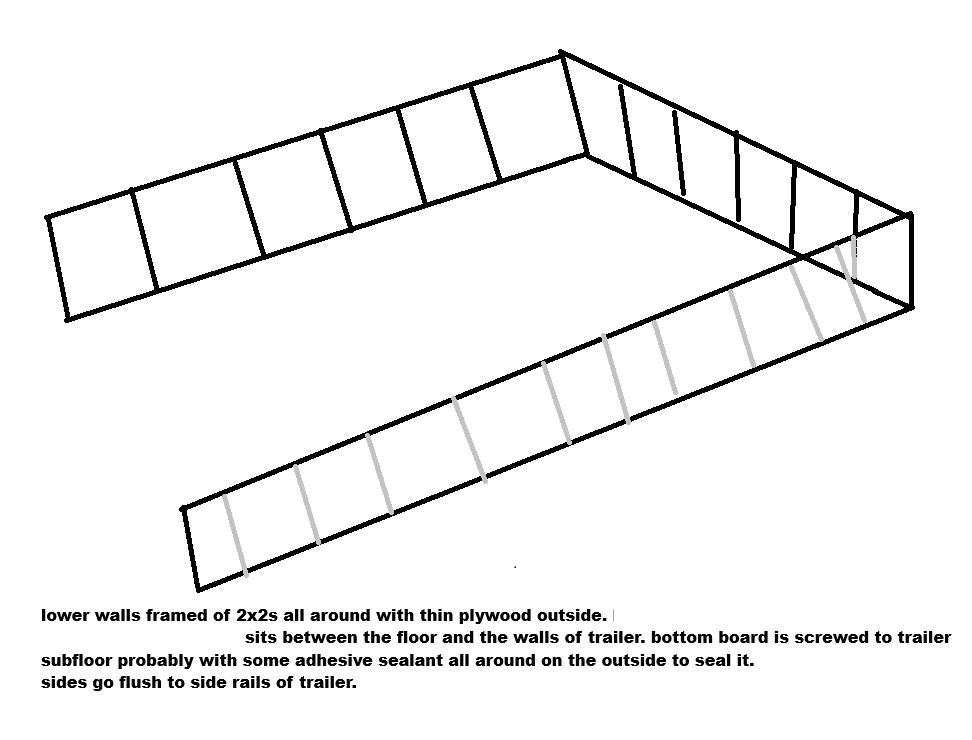
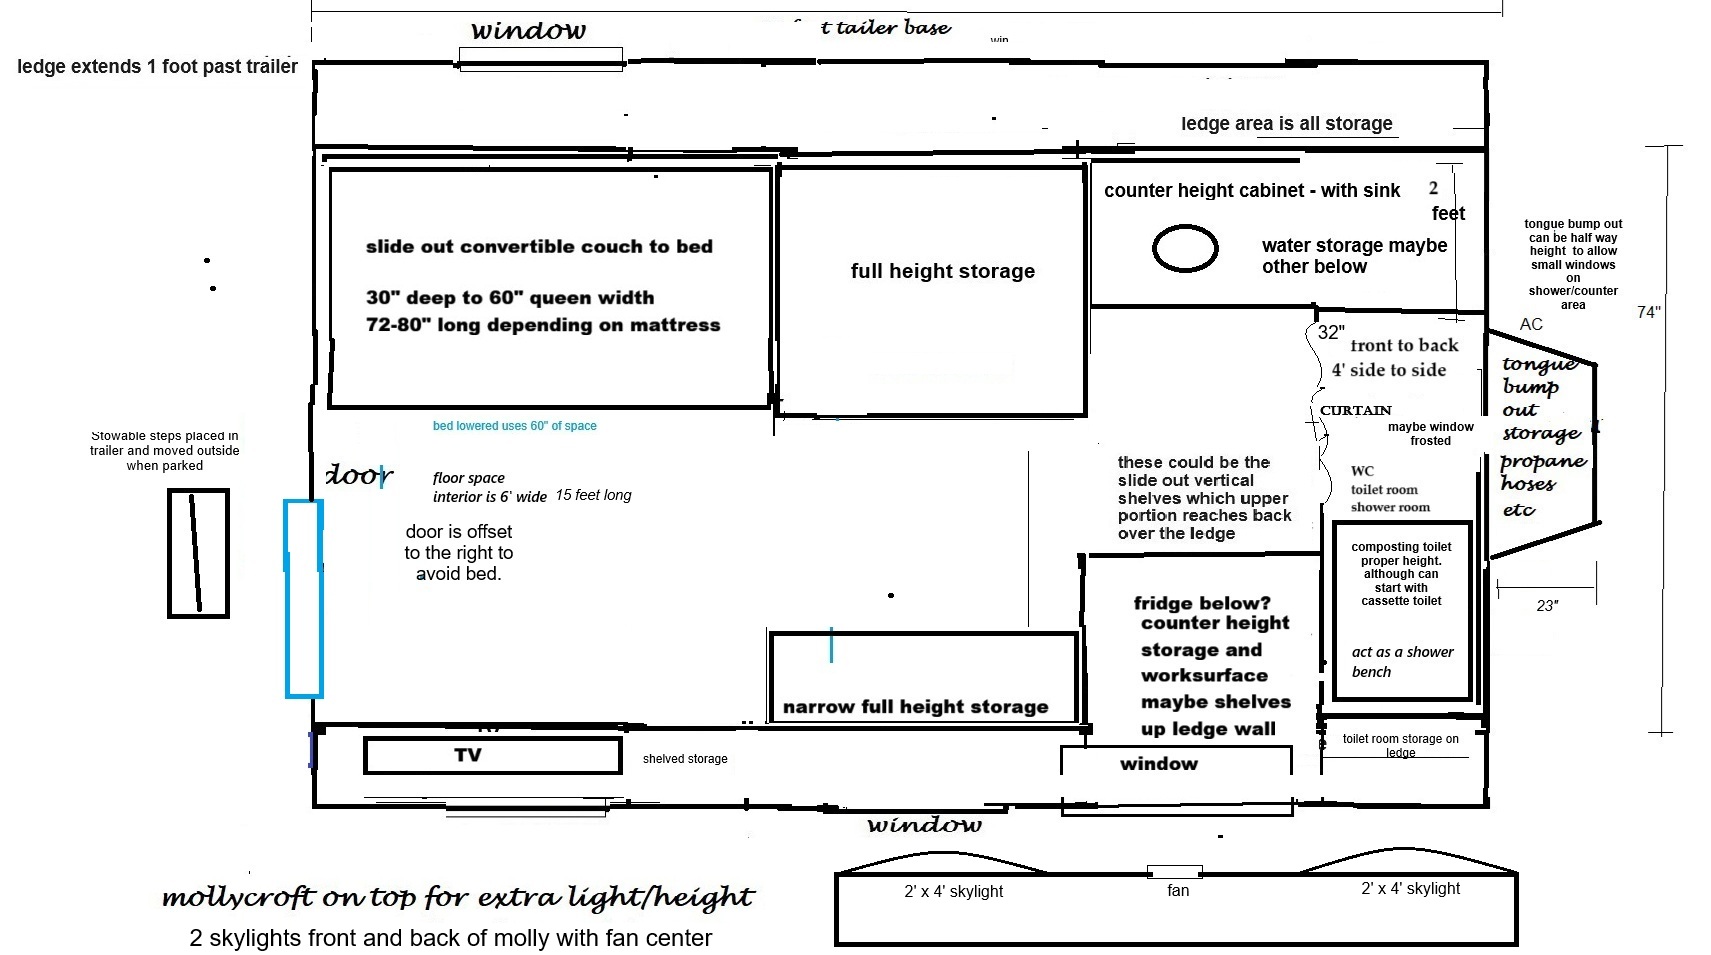
The lower portionsThis will be a ledge style vardo with a lower portion that fits within the walls of the actual trailer and a ledge that sticks out over the top of those walls making the whole thing 8 feet wide in the end. For the lower portions I used 2x3 lumber to frame out the lower walls. Ignore that it says 2x2 in the bad drawing, I needed wider to accomodate the way the trailer walls are built. They needed to be notched to deal with the funky shapes built into the steel side walls of the trailer.I also have a very detailed plan... not. I tend to sketch out some ideas in a notebook dedicated to the vardo build (the image is ideas for a bed), and then make them look a little neater in Paint. If I need accurate scale drawings I also have graph paper.
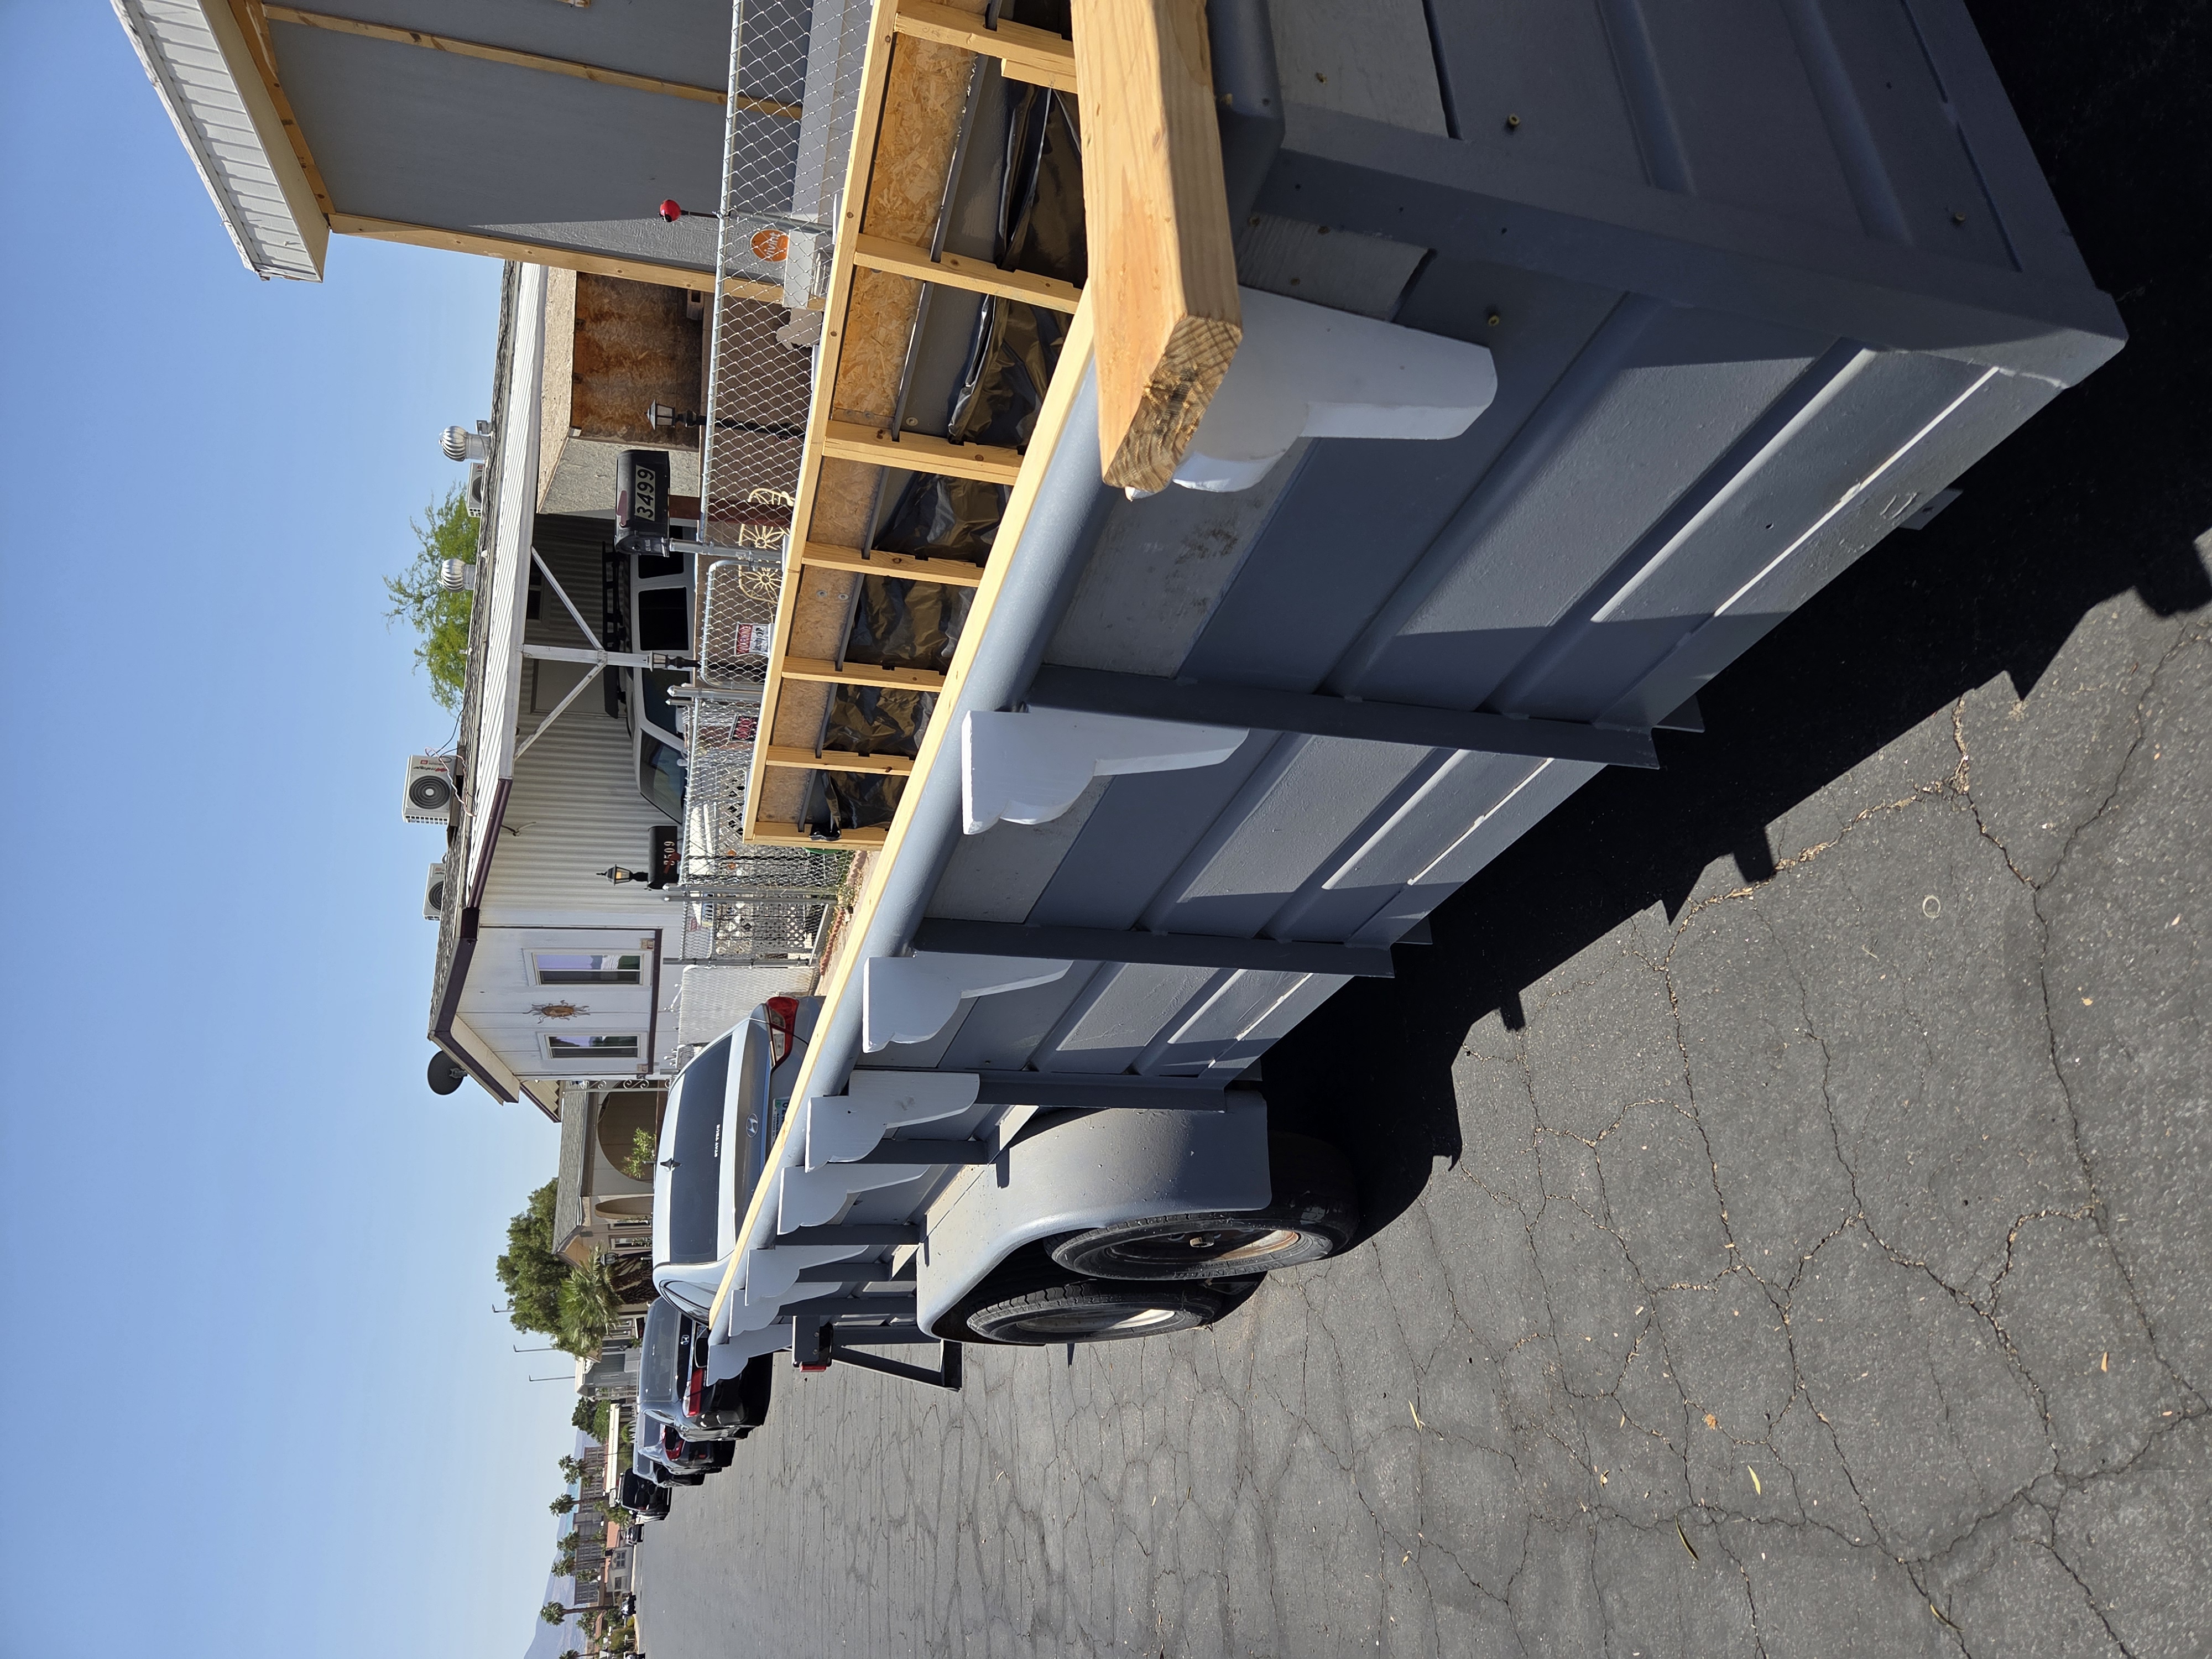
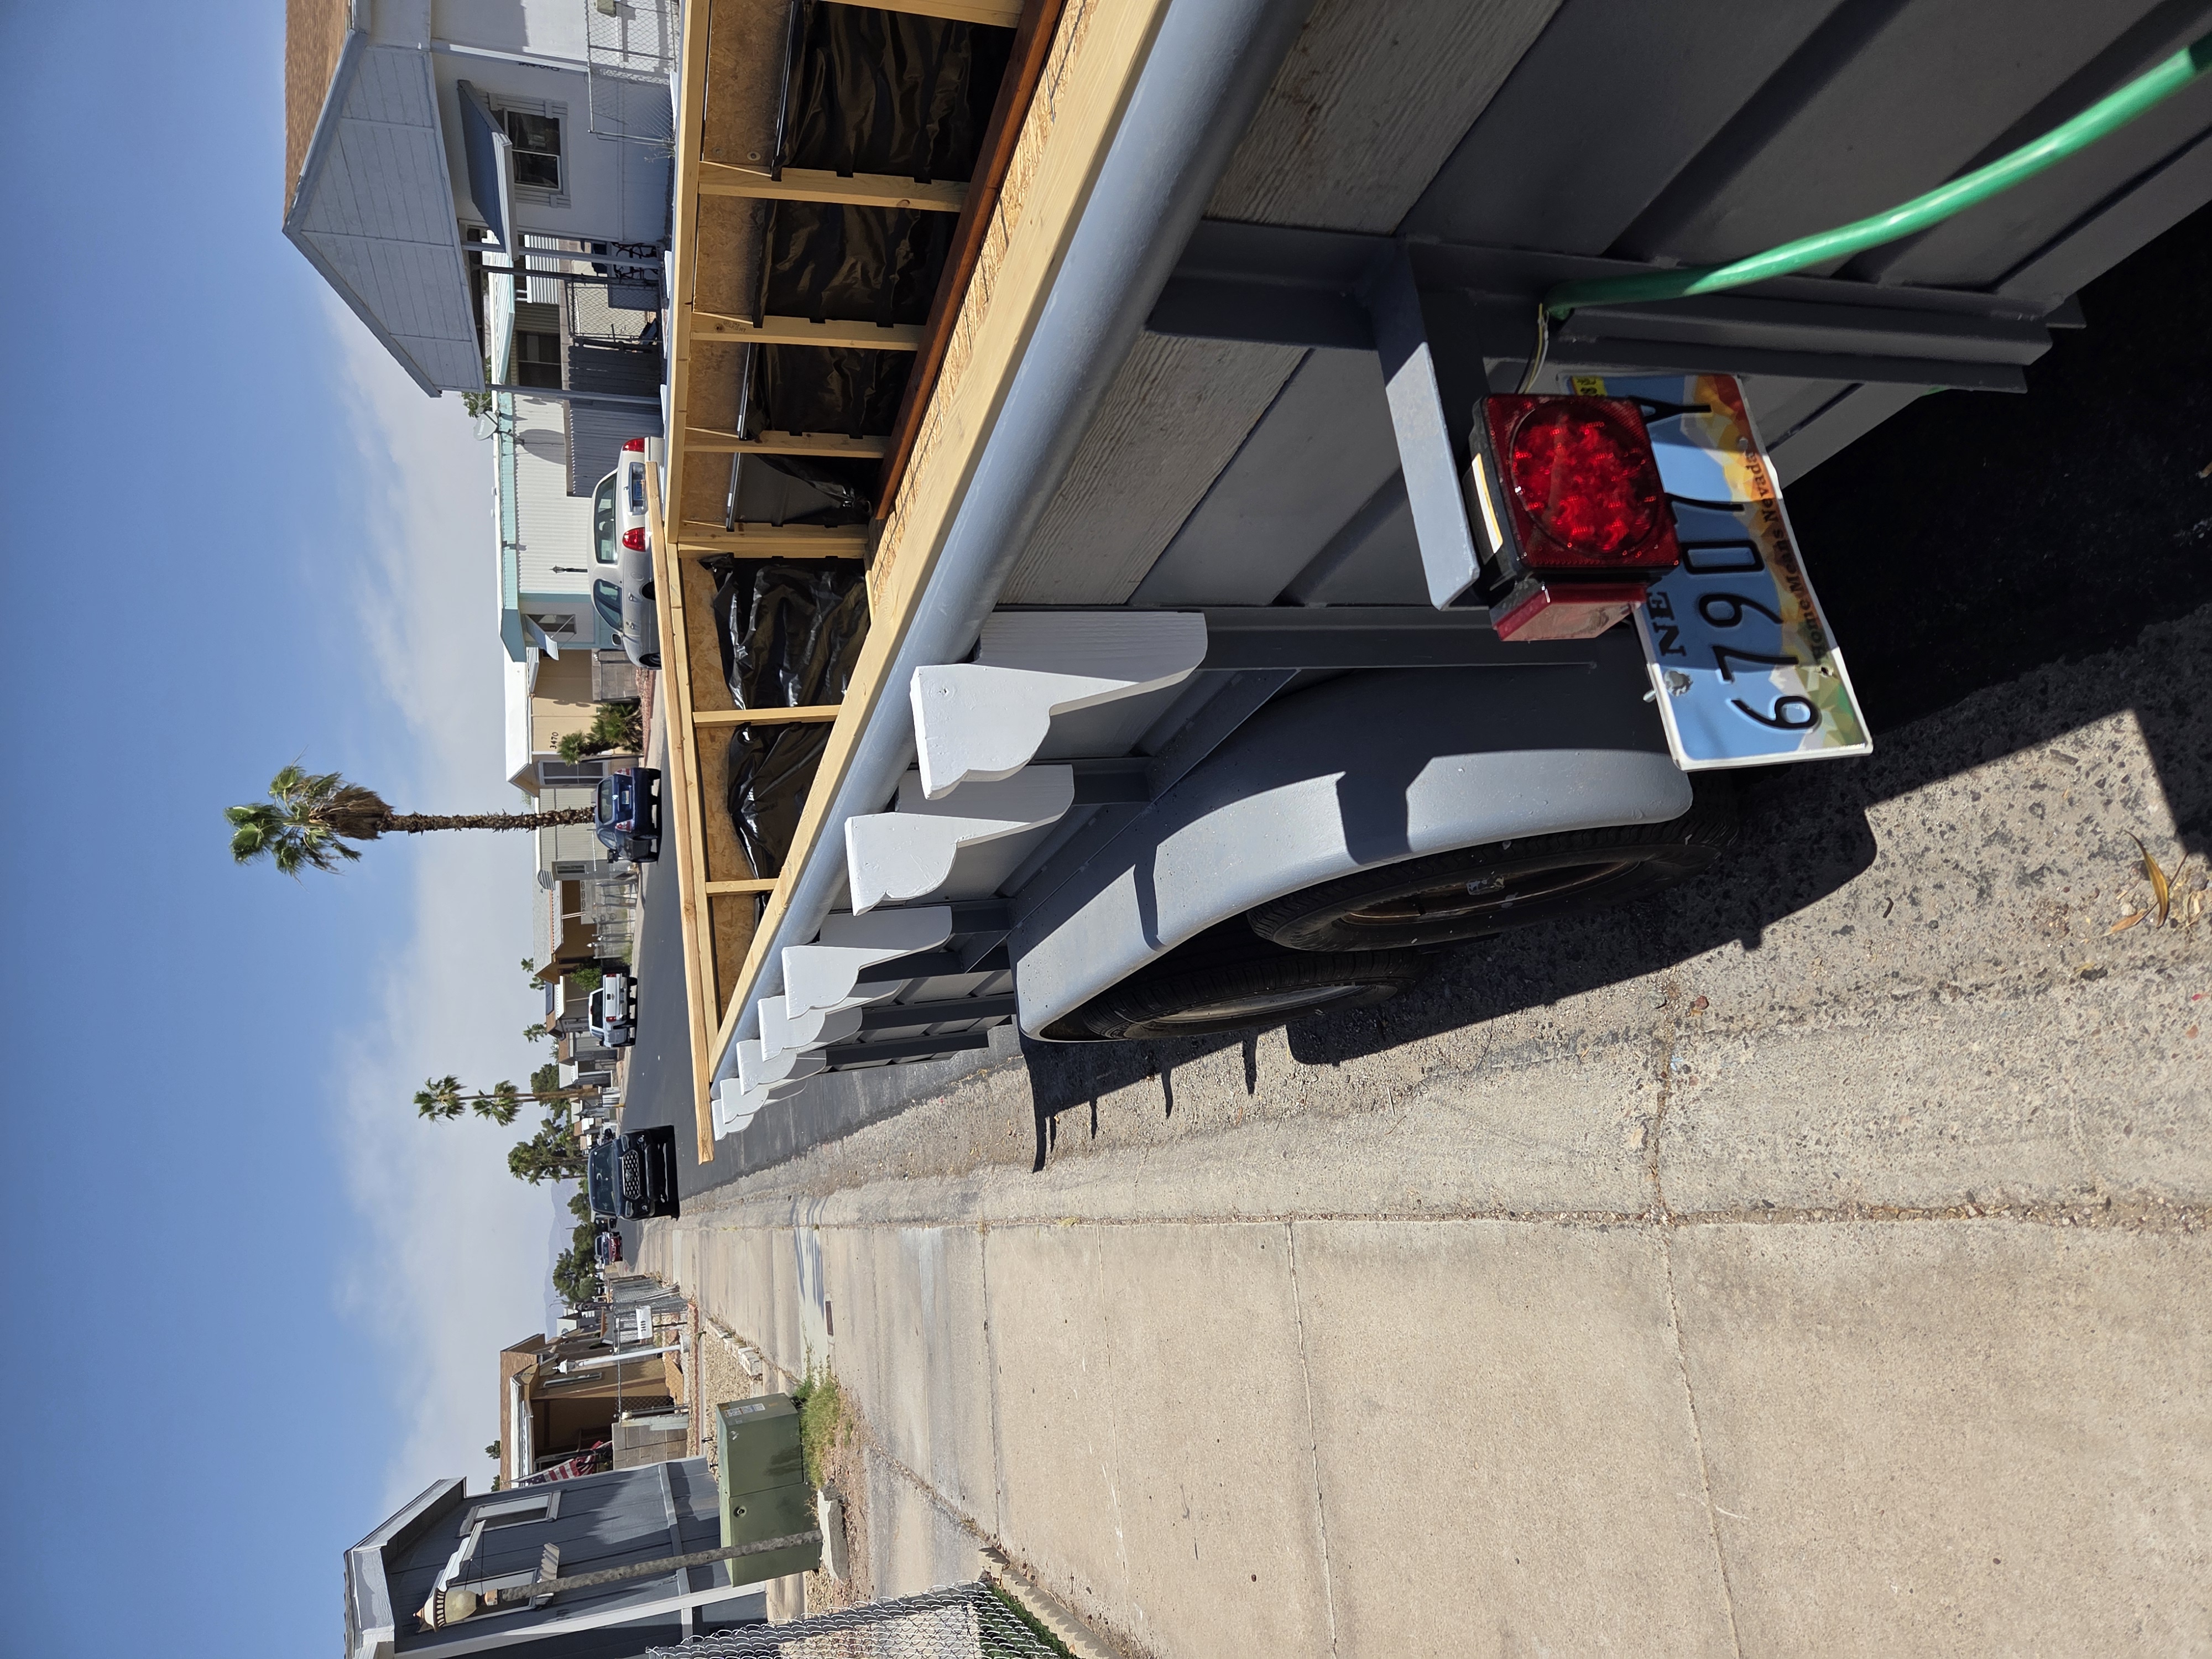
I put on the front ledge board and dry fit the side ledges. The front ledge is made from a 2x6 and will end up slightly less than 8 feet wide. The trailer cannot be wider than 8 feet without special permits for most states so I'm keeping it below 8. The side ledges are made from 2x12s but I need to figure out how to support them on the outside before mounting. The extend about 6 inches past the steel top rail of the trailer and I'm thinking of doing something a bit funky. I want a steampunk moroccan trailer so I'm going to look into using steel pipe to make 45 degree angle corbels to support the ledge. If that doesn't work out I'll just make some nice wooden corbels but it will be tricky because of that round steel top rail. I put in the floor for the interior. Basically I laid some vapor barrier over the trailer floor to avoid moisture coming up from the road. Over that I put 1 inch XPS foam (the purple stuff) I butted the foam together and used flashing tape to seal all the edges together. I cut the first xps board in half so that when I laid the 3/8 OSB over it the seams would be staggered to further reduce the chance of intrusion into the vardo. The OSB was set down with construction adhesive onto the foam (the foam was floating over the trailer floor) and then I went back with 2.5 inch screws and screwed down through the entire mess to secure it to the trailer floor. One thing to take note of is that the foam and OSB extend wall to wall and is flush with the front pony wall BUT at the rear it stops 2.5 inches from the end of the trailer. This is to allow the back wall and door to sit on the trailer and not have the subfloor exposed. I also ran flashing tape down the foam across the entire back and adhered it to the trailer for further environment protection. Once the walls go up it will all make sense.
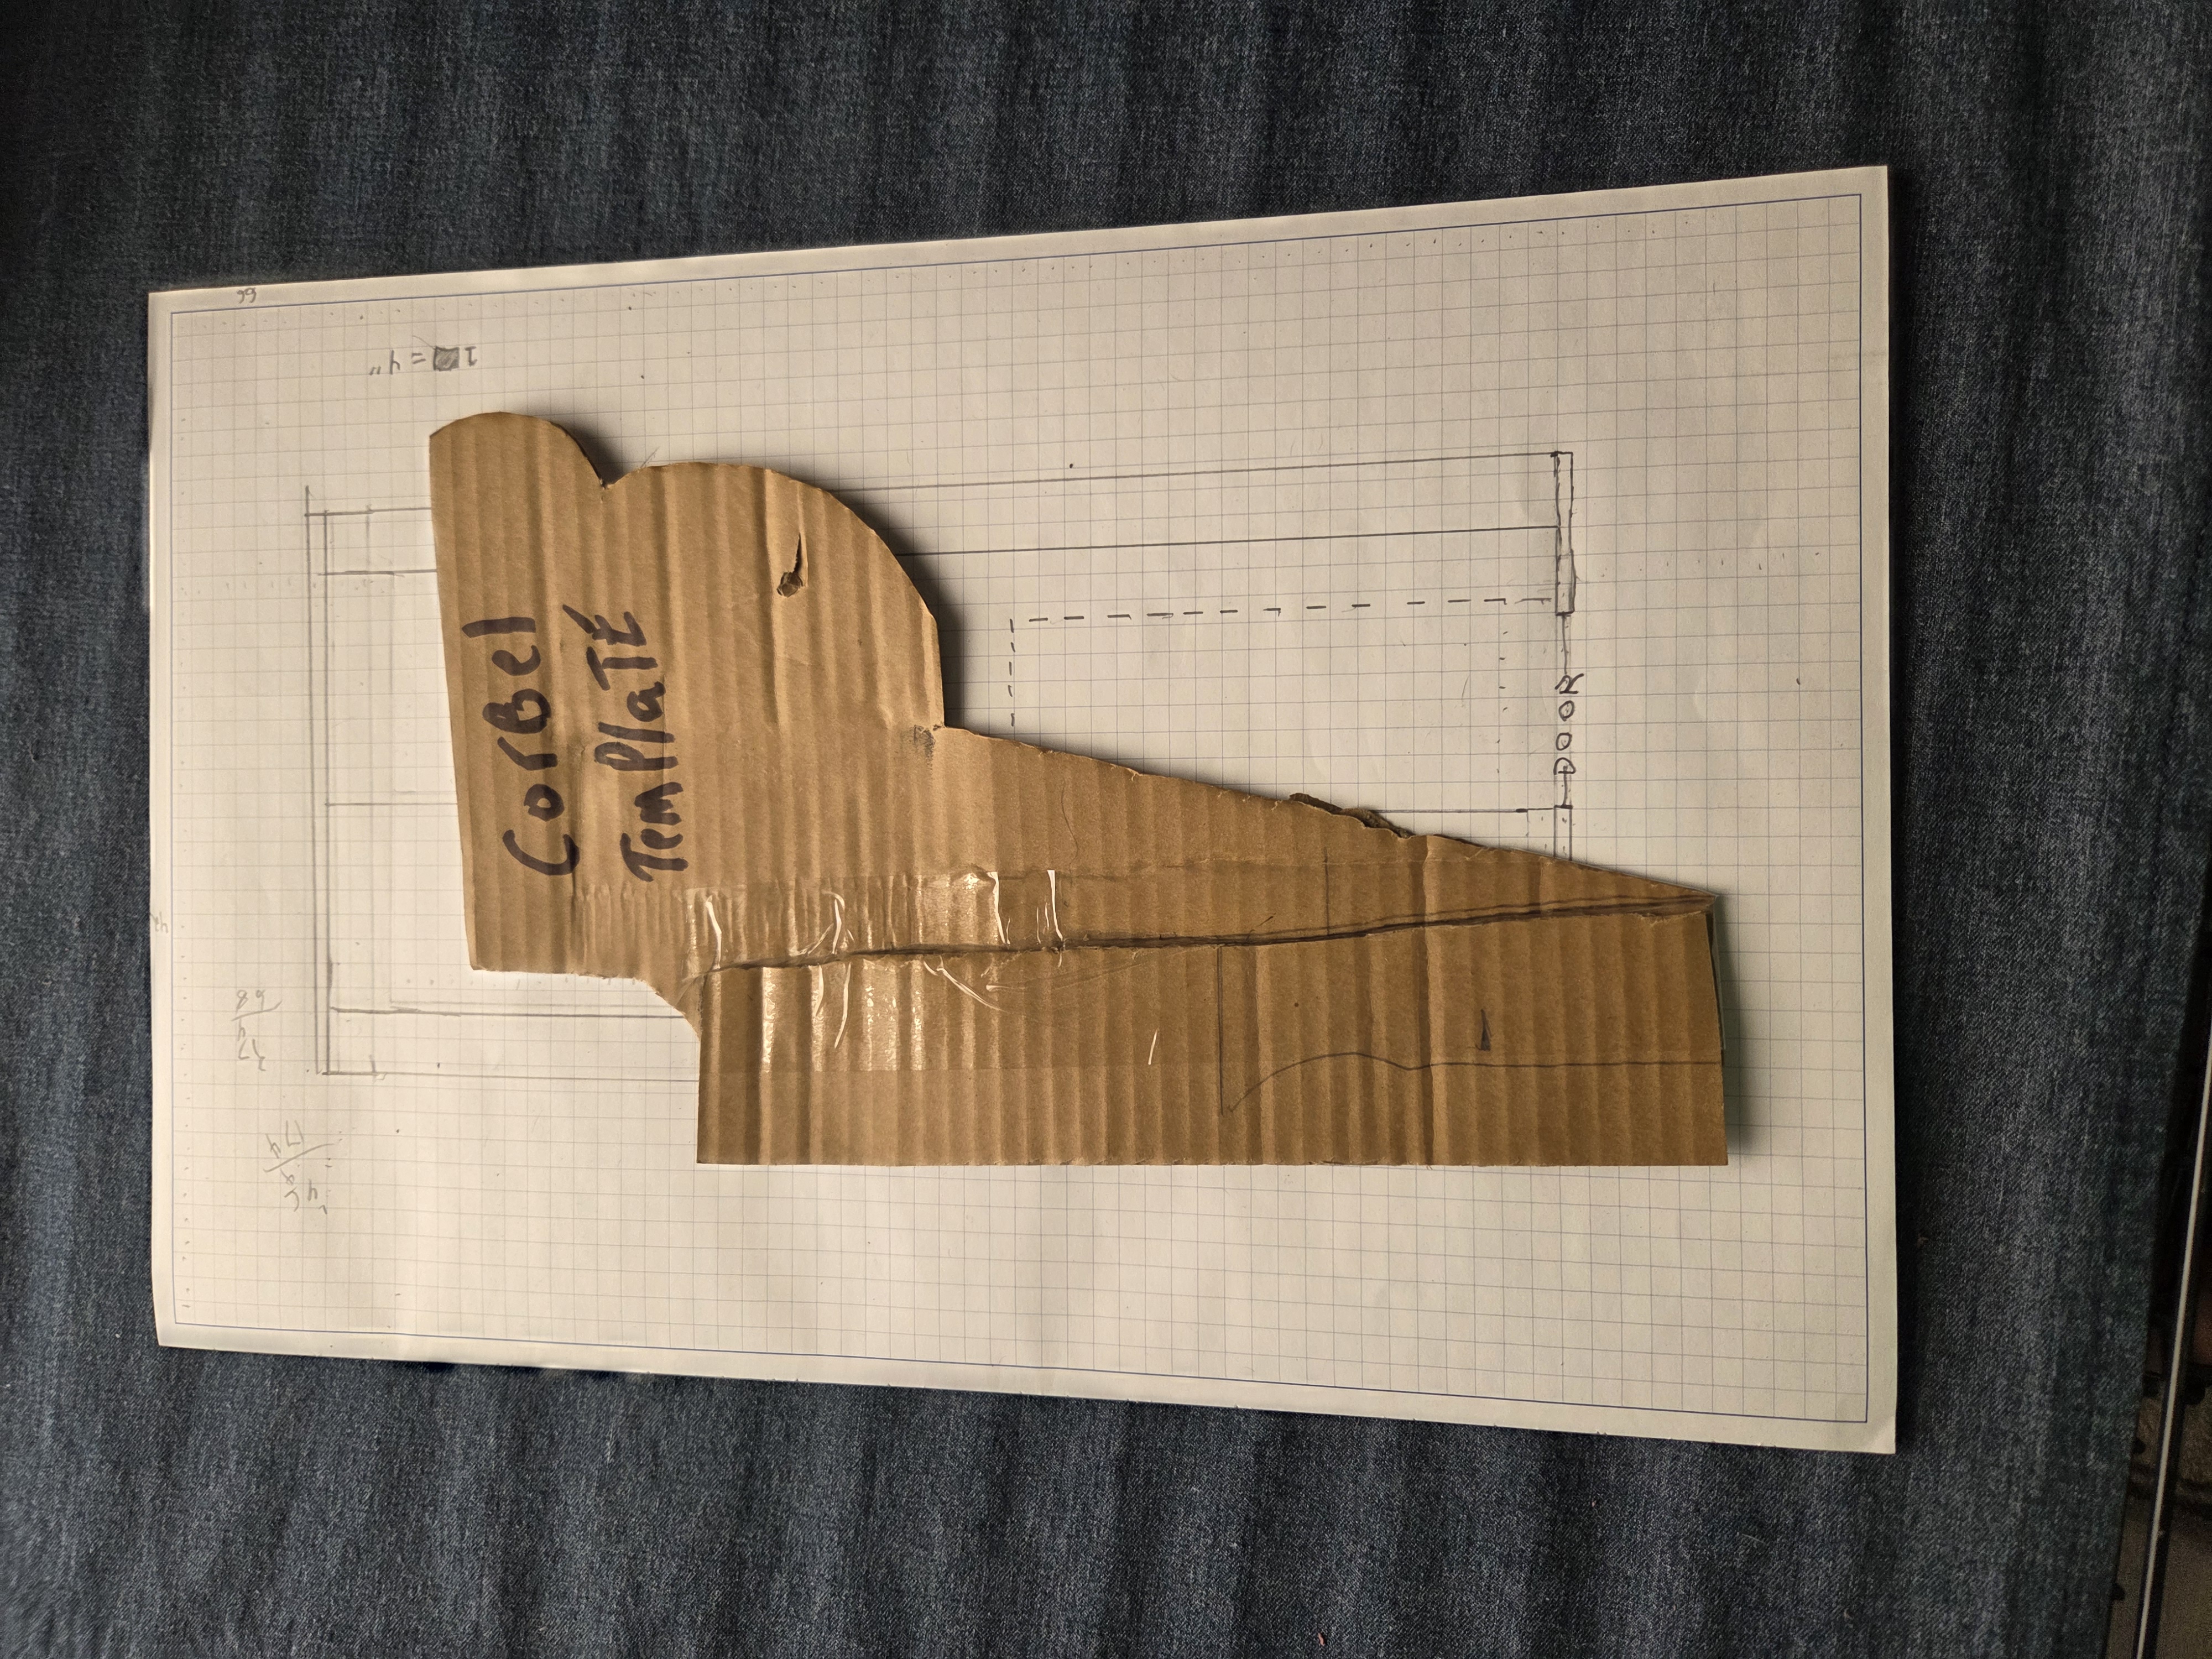
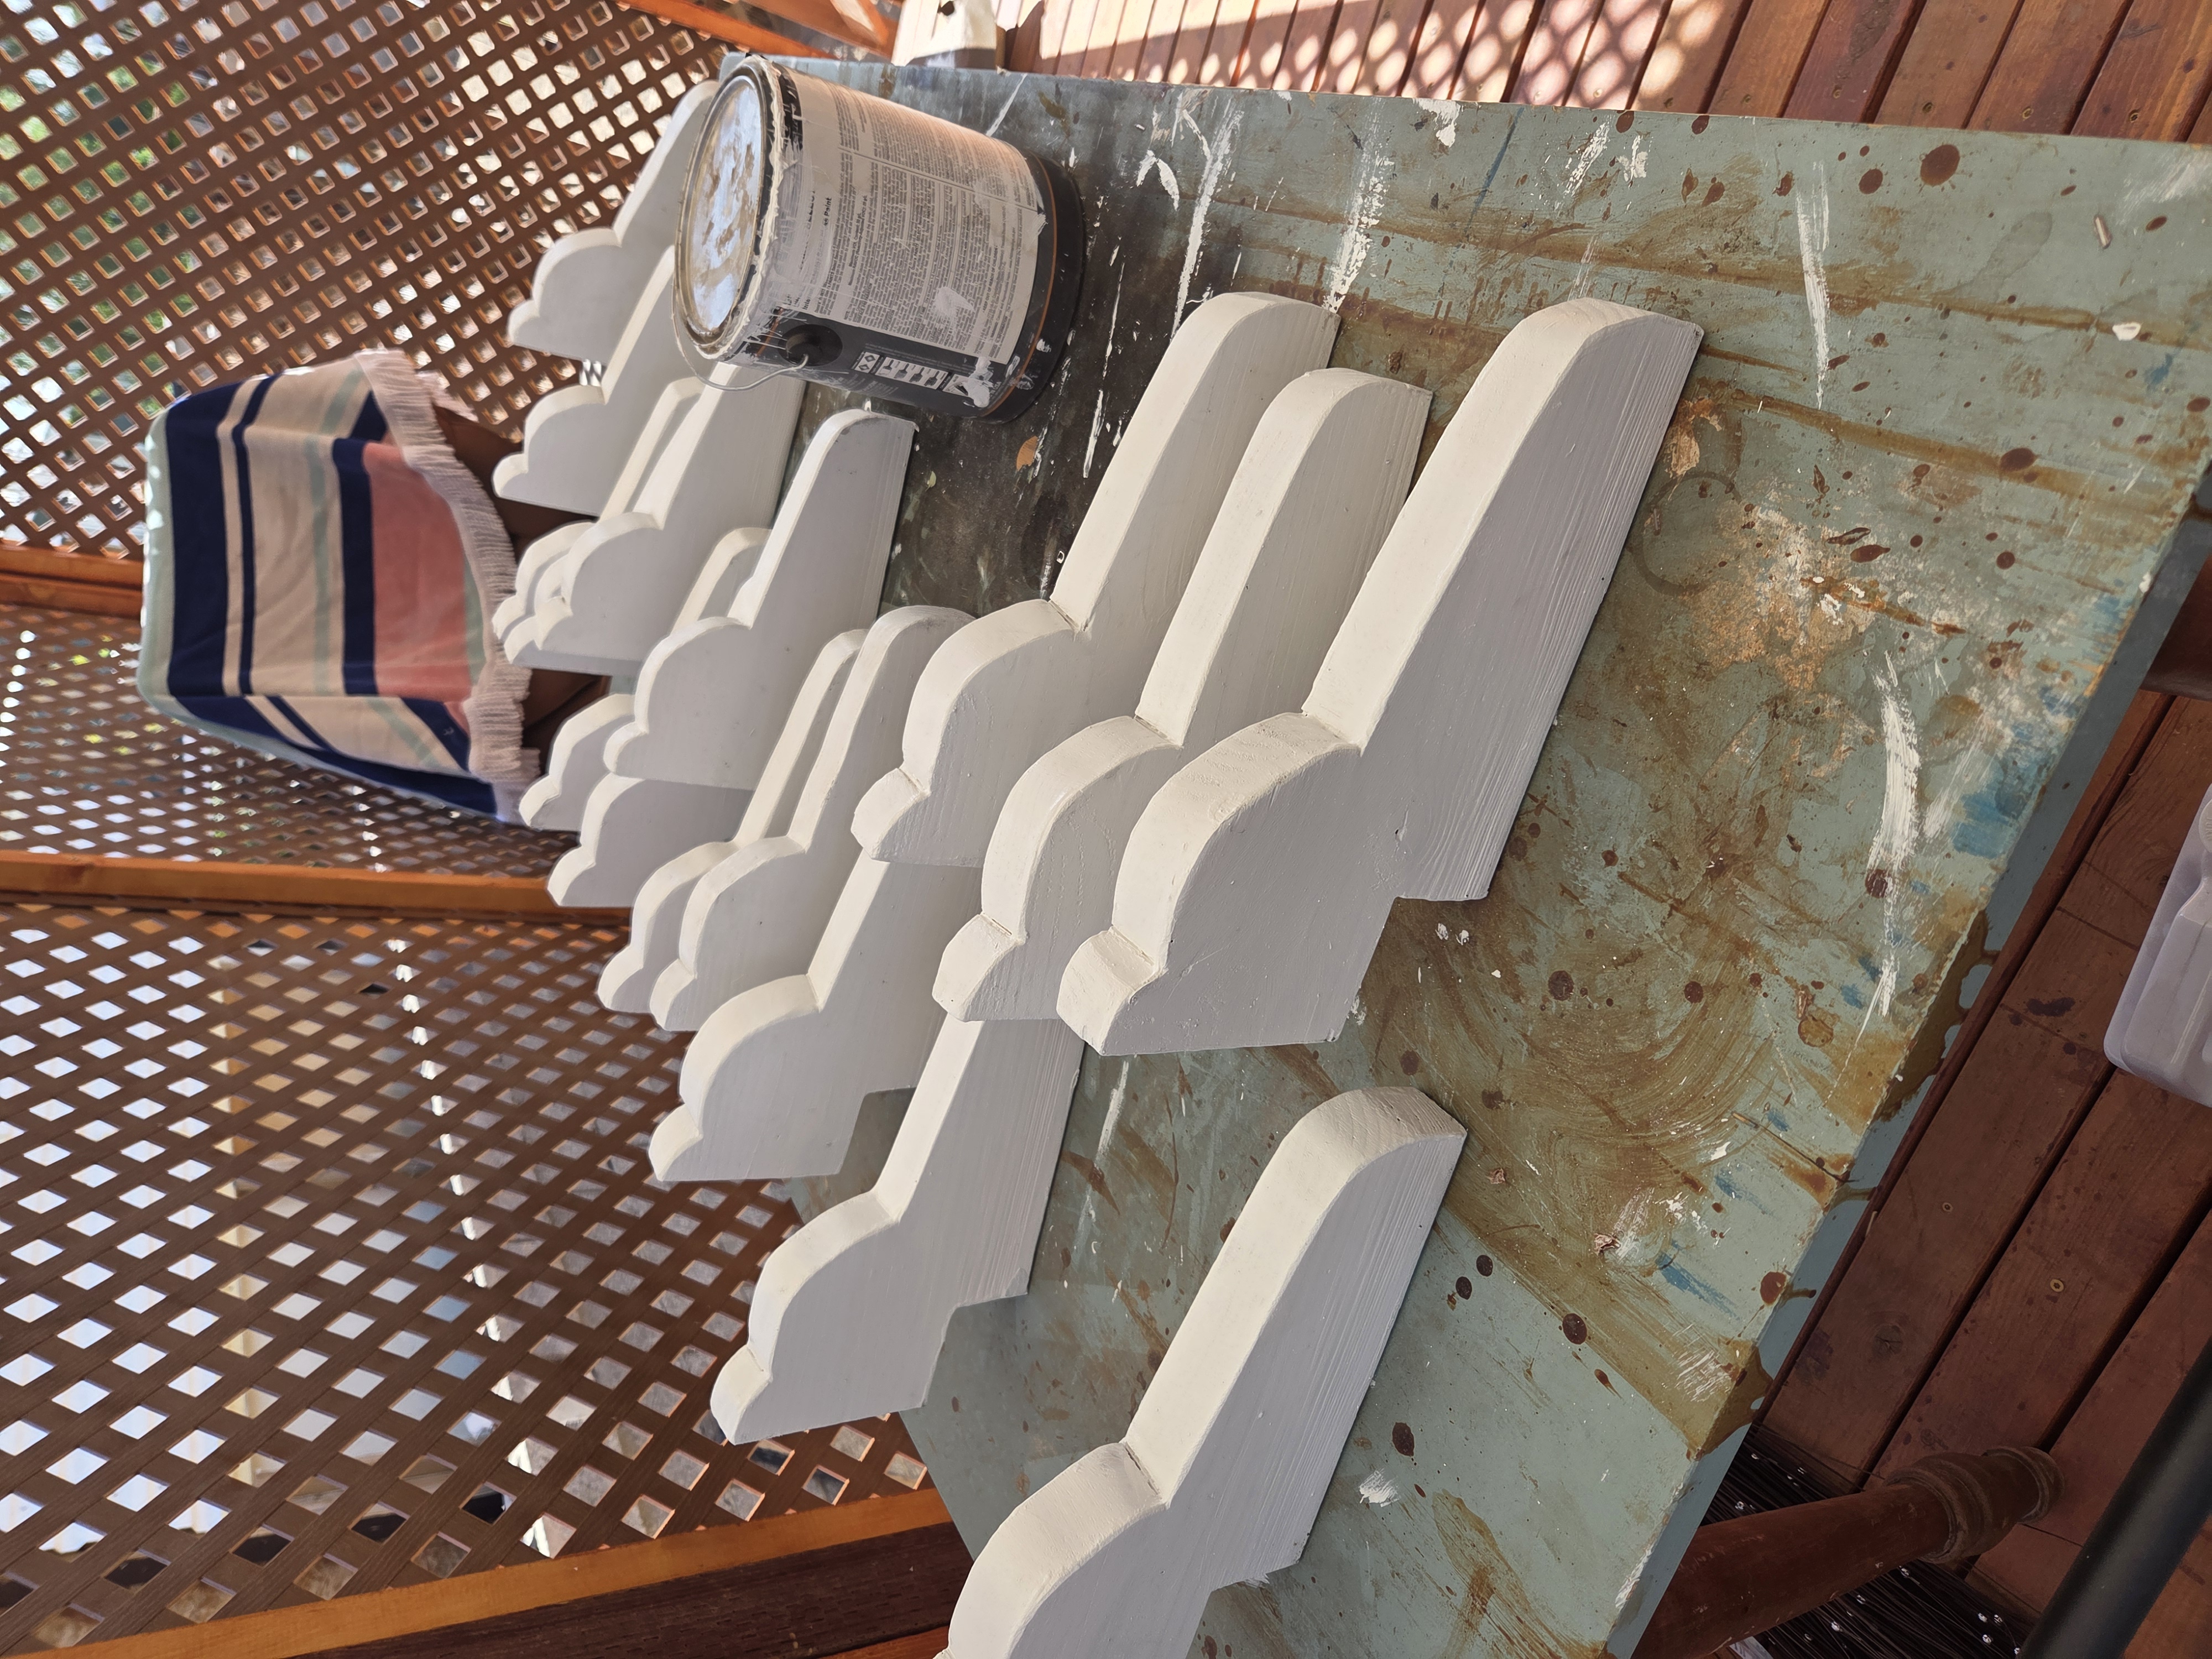
Did a little work related to puting the ledge on the trailer. Unfortunately it turns out that just dropping it on as the next step was sheer hubris on my part. The 2x12 boards are too wide and too heavy to put in place alone and make sure they are sitting correctly. The only choice was to make the corbels first and install them so that there's someplace for the ledge to rest on and not keep falling off the trailer. Used a couple of 2x8 boards and cut out 1 foot tall corbels. We just made up the pattern (see the cardboard template above) and then I used my scrolling saw to cut them out. They're painted on all edges with 2 coats of exterior white paint. My lovely wife will be eventually coming up with color and decoration for them but this way she has a blank canvas and it's protected from the elements. The ledge will get a coat of exterior paint next and then I can place it over the corbels and attach it to them, the interior pony wall and the metal trailer rail.
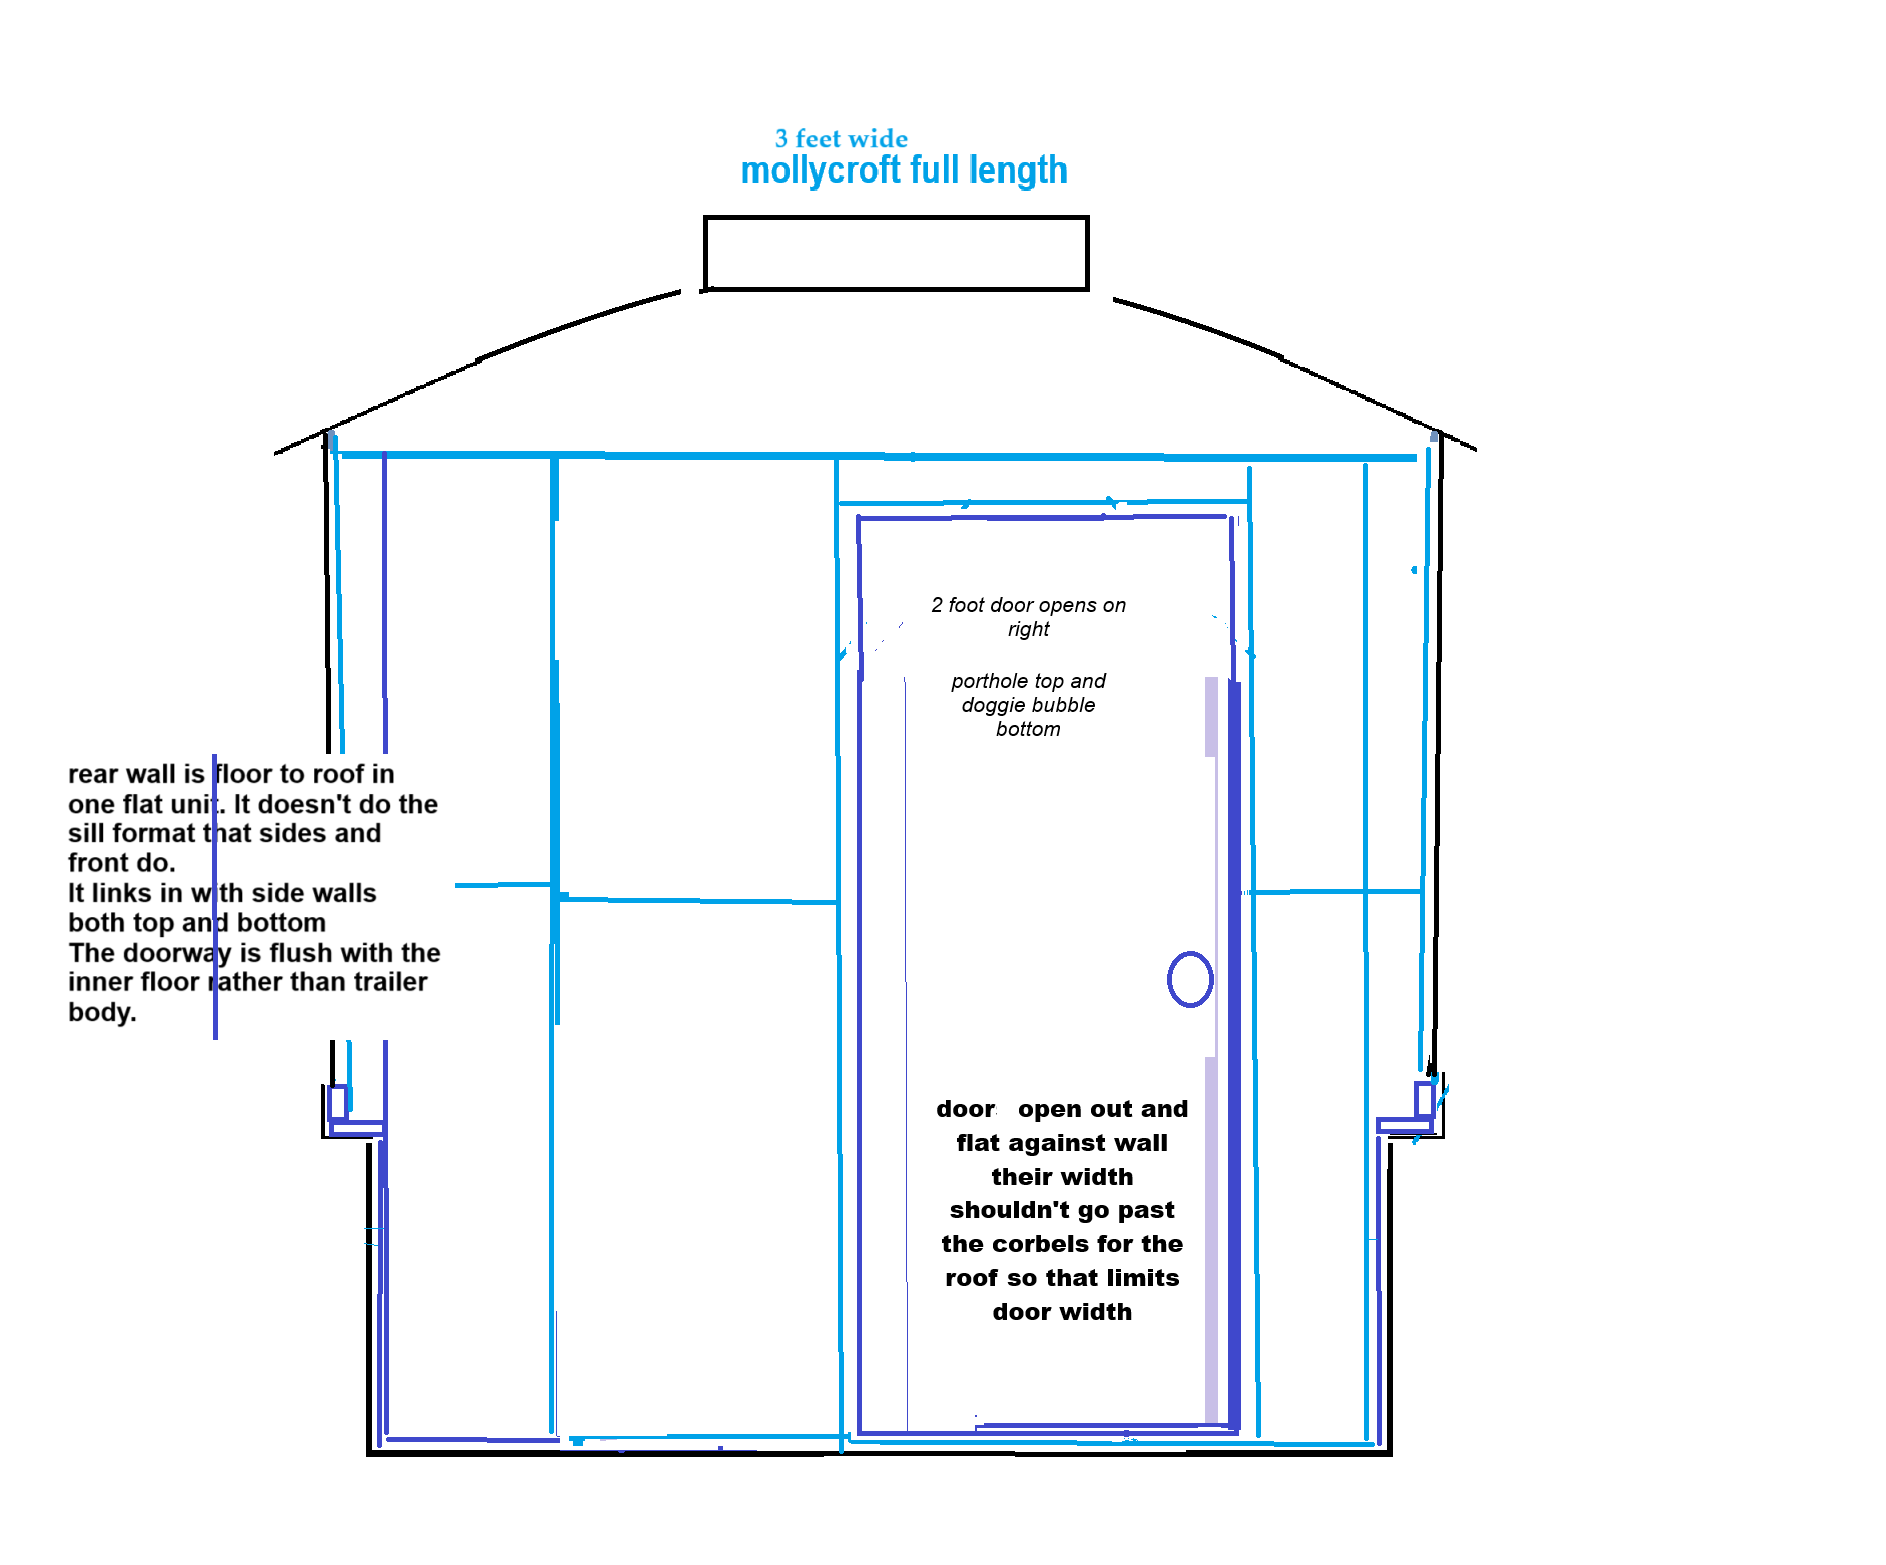
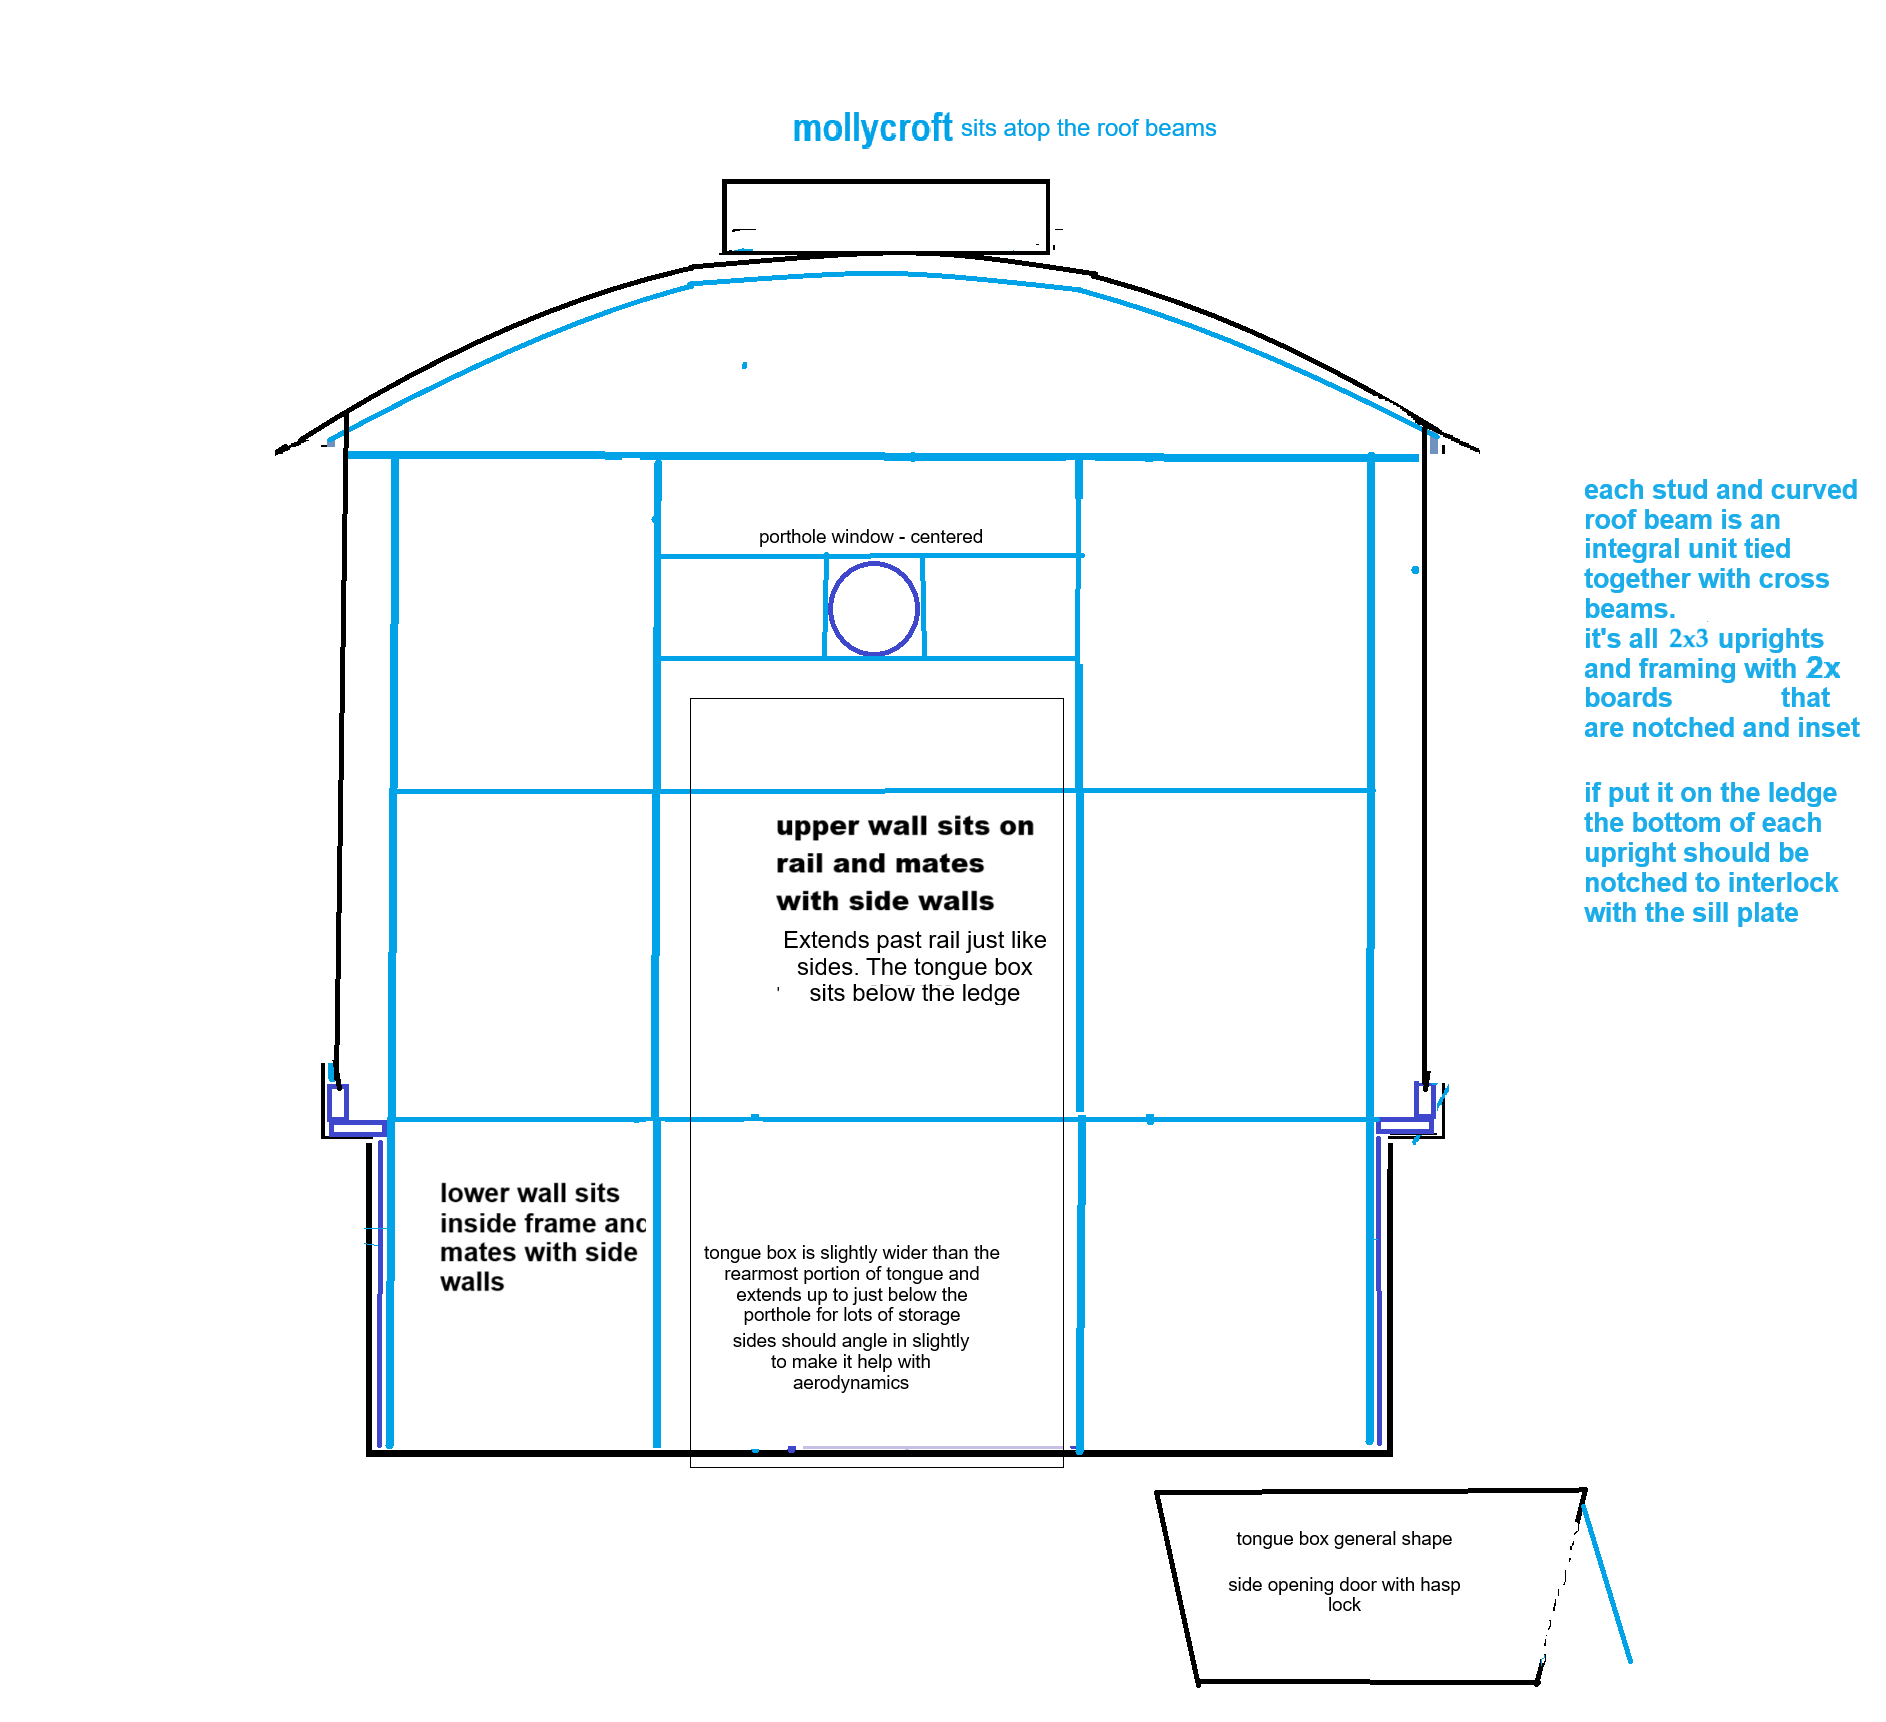
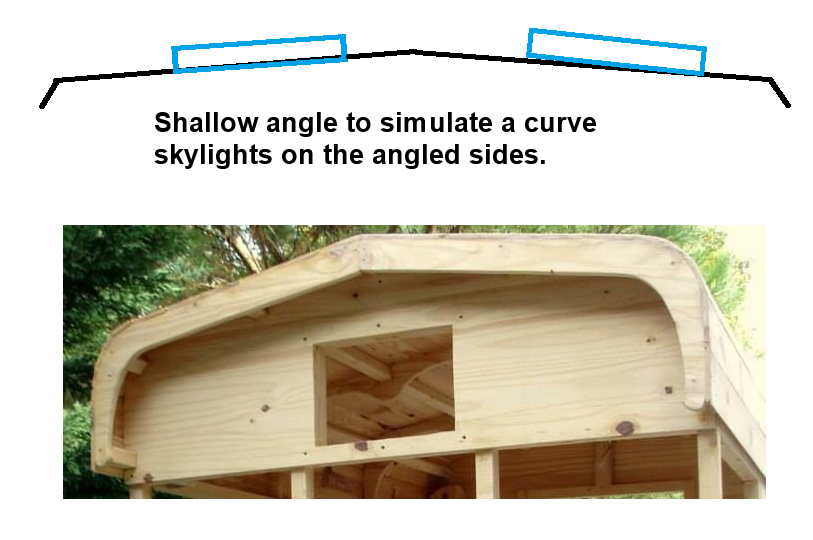
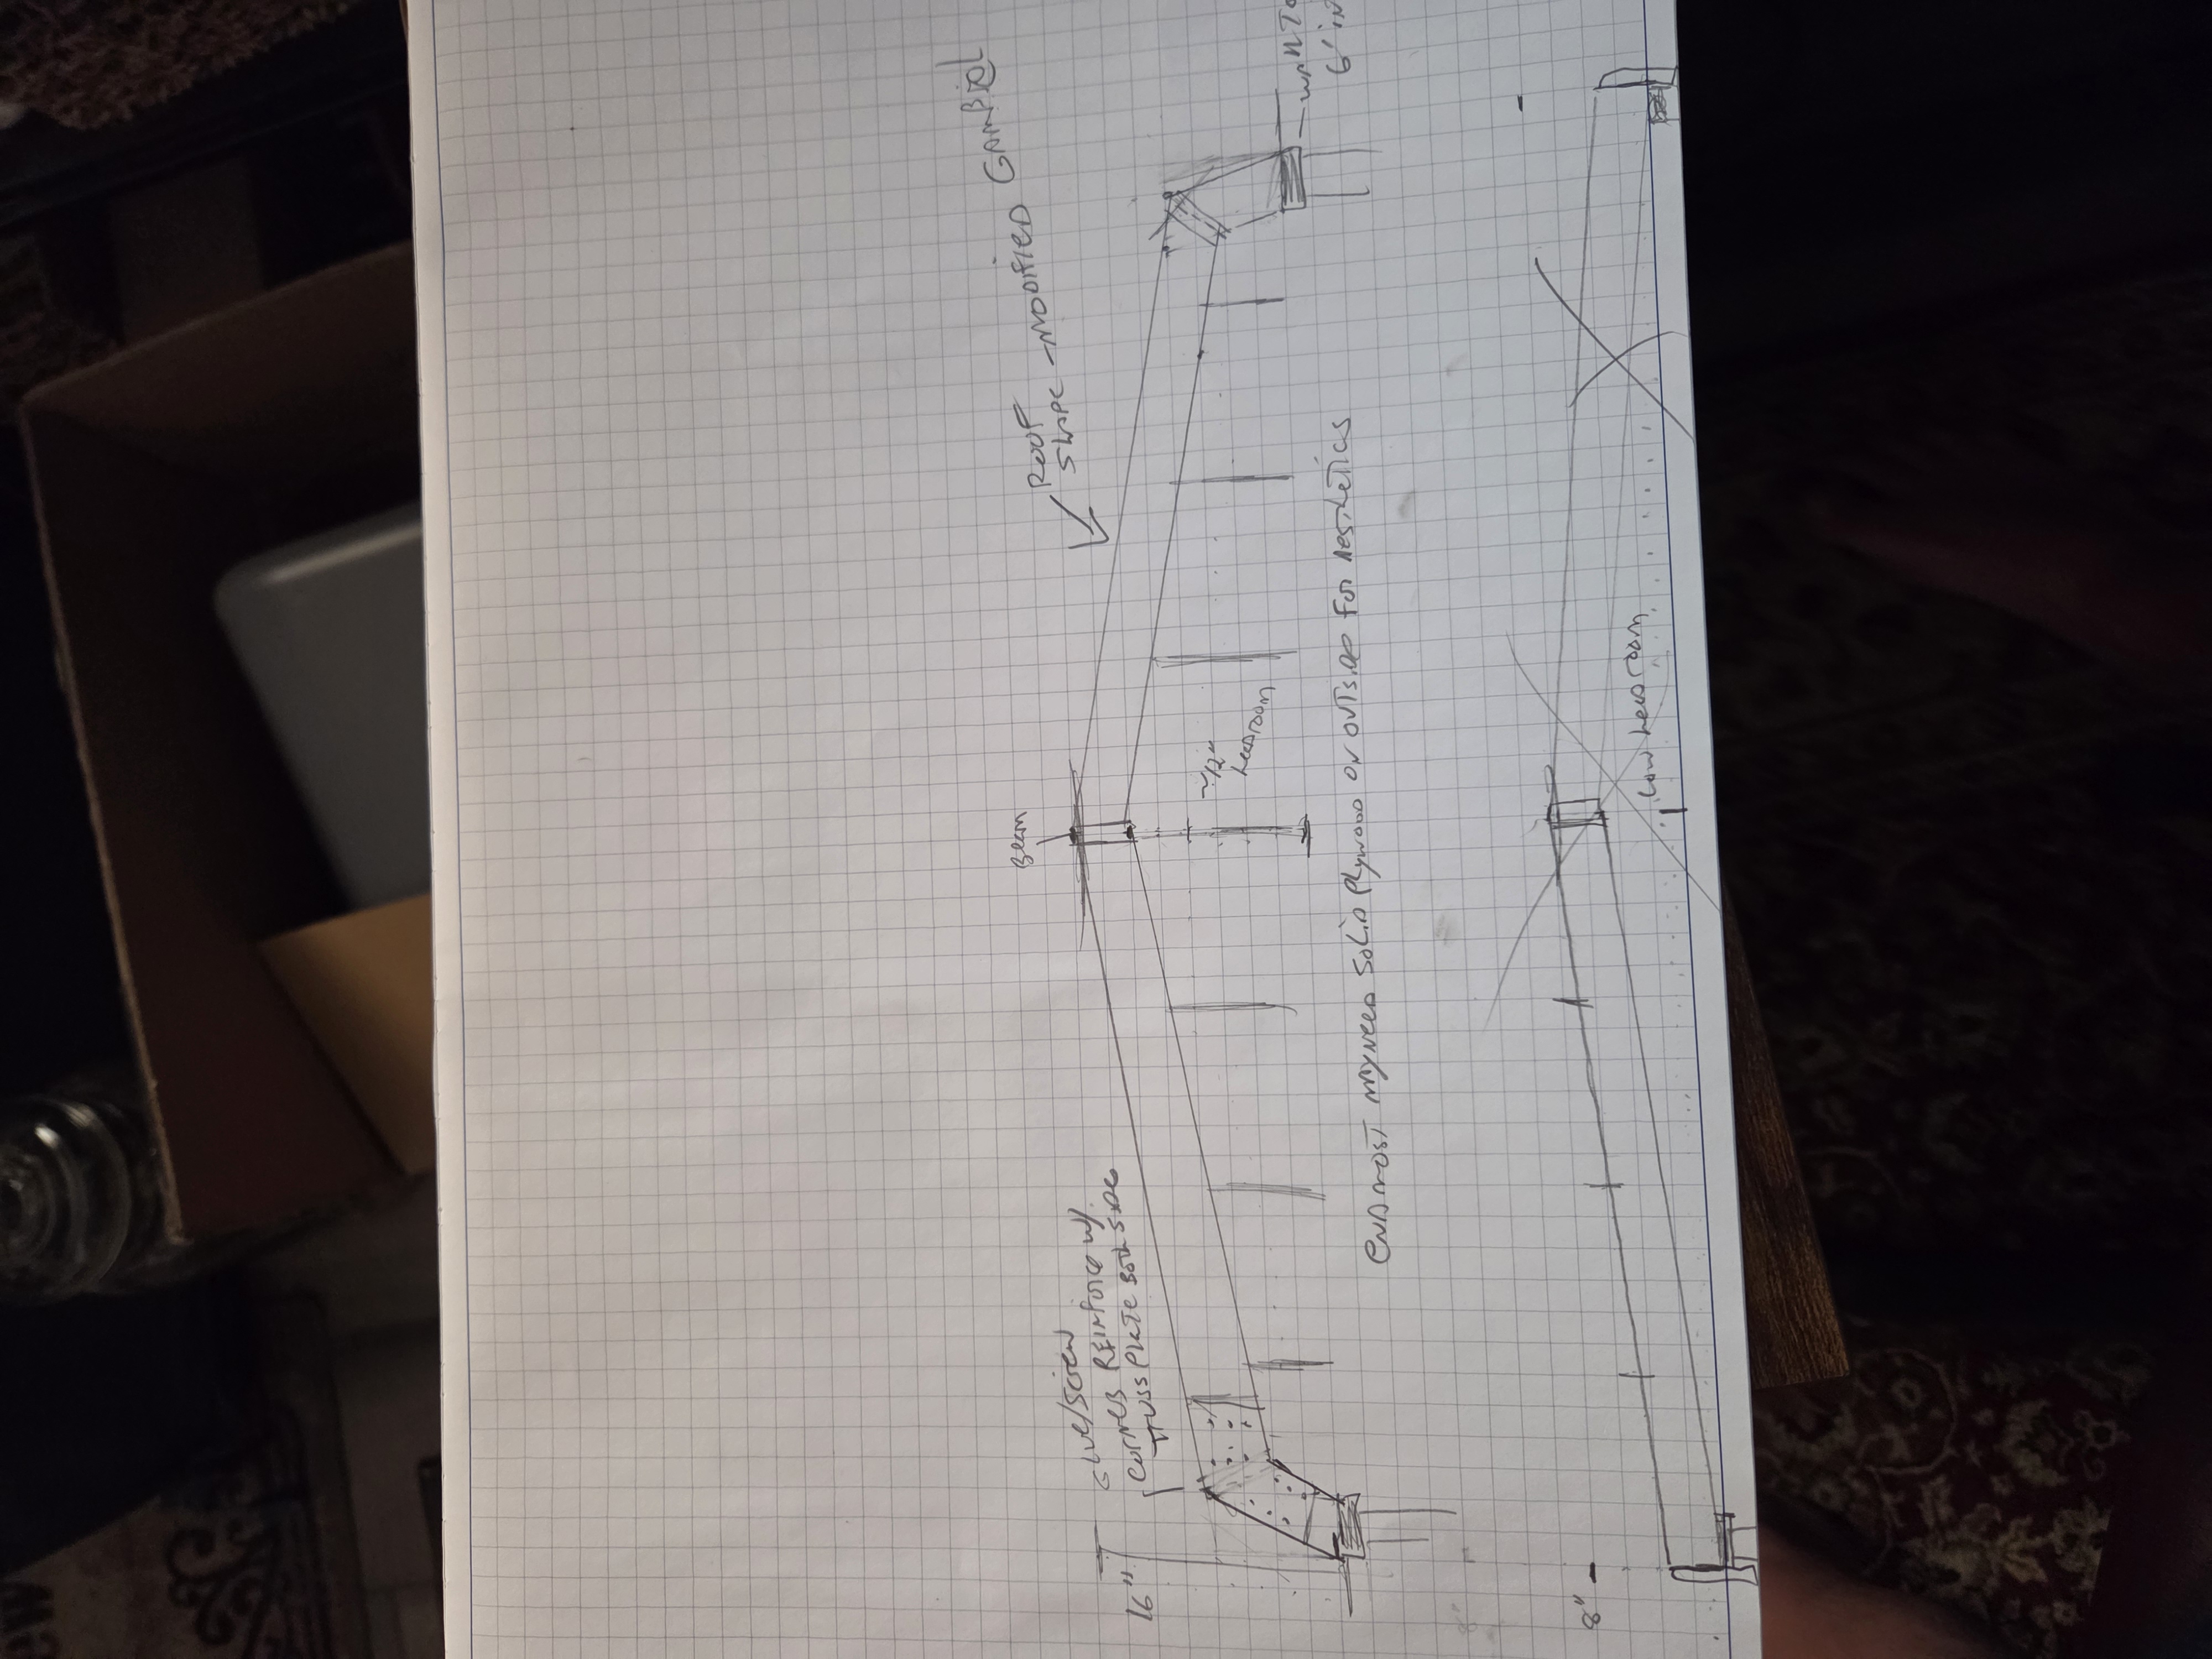
While I'm delayed on bathroom remodels I'm still percolating ideas. I honestly don't trust my carpentry skills to pull off the laminated bow roof with mollycroft. As much as I love the look, I want this to be something I can do correctly and not make a mess of things.
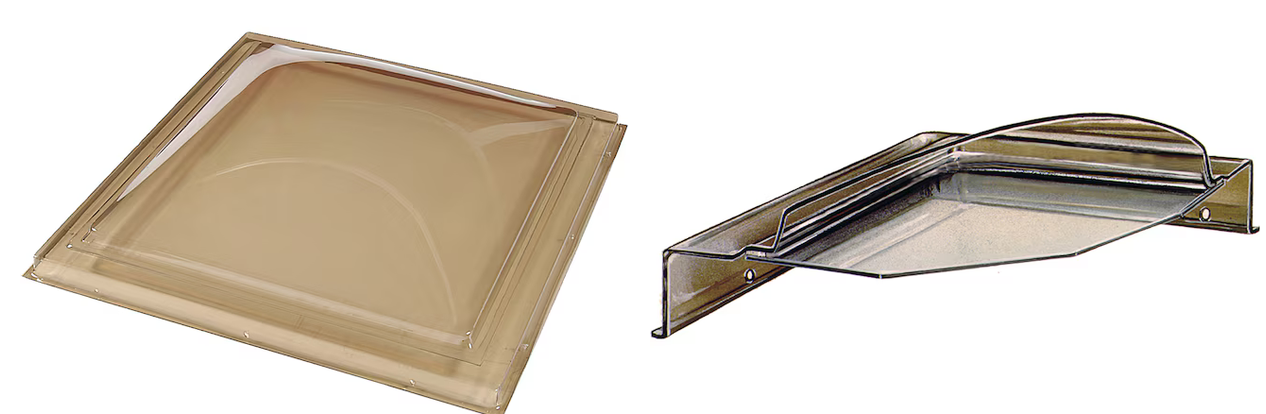
The 4 skylights. They measure 22" x 22"
NEXT UP - The ledge. I'll keep updating this page as the process continues. I'm thinking this is about a 2-3 month project for the shell of the vardo.
THE VARDO IS ON HOLD FOR EMERGENCY BATHROOM RENOVATIONS. I SHOULD BE PICKING UP PROGRESS AGAIN BY MID AUGUST. |